• Getting Married: 37 Weeks – DIY Invitations

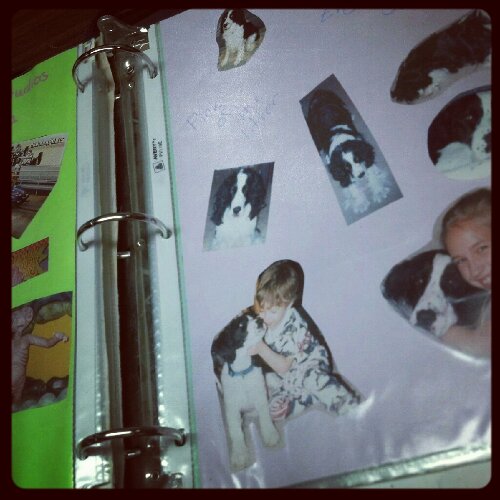
    As much as possible, I want to DIY our wedding.  One easy thing to do yourself is the invitations. Let me say that I love stationery. I love letter writing, sending postcards (which is why our guestbook will be postcards instead of a traditional book), and sending Thank You notes. In fact, I’m a compulsive Thank You note buyer. I have two shoe boxes full of Thank You notes I’ve accumulated throughout the years, which I know will come in handy after the first bridal shower and such. I have never really tried to make my own stationery, though, and my only attempt at scrapbooking was in high school when I took an old binder and filled it with pages, photos, and even a book I had to make in French class about what I was like as a child.
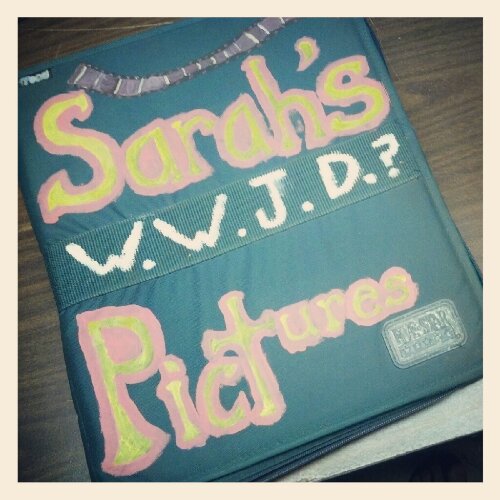
    That kid at the bottom is my now 20 yr old nephew…eesh!

    I know what you’re thinking…SIGN ME UP! But I love trying new things and I really think that this will work. 🙂

    My first order of business was to brainstorm what I wanted them to look like. I saw these invites and fell in love with them. And then I saw these and thought they were a bit more feasible. So I set out to make my own stamp. I’ve never done this before either, but it sure looked like fun, and considering I have 37 weeks to go, I’m ok with trying some things out before we need to get serious. I’m not going to show a finished product of the invites until we send them out, but you are welcome to see the process of, at least, this attempt.

    I went to Michaels and bought a Speedball kit and a soft rubber stamp pad. Since I’m new to this whole process, I thought better start with the soft than the harder linoleum block. I sized my stamp and then pulled up Powerpoint. This is my picture manipulator of choice. I’m probably super old school saying that, but you make do with what you have and I have Microsoft Office! I typed up the wording and positioned the pieces where I wanted them.

    Then, I took the little bit of tracing paper that came in my kit and put it up to the computer screen, sketching the letters out lightly with a No.2 pencil.

    Once I had the design on the transfer paper, I flipped it over and pressed down the back of the paper so that the pencil marks went onto the rubber. It’s really important to do this gently, since you don’t want the design to get smudged. It goes on backwards, too, which is just want you need for a stamp!

    Once the design was on the rubber, I began to carve. I probably didn’t do this the right way, but it turned out really well once I had it all cut out. The kit I bought came with two sizes of blades, one for larger areas and another for the detail cuts. Here was the finished product for that, and the sample stamp.

    The hard thing about these stamps is that they’re a bit flimsier and tough to get a consistent image. So, I ran over to Home Depot to see what kind of scrap wood I could find to mount it and the other stamps on.
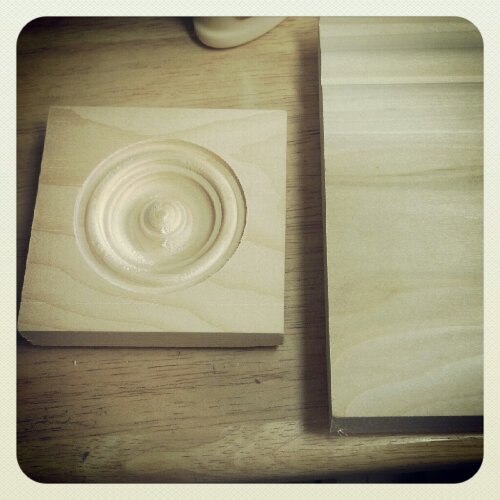
    I know they’re not really scraps, but they will do the trick, and with a little wood glue, I have nicely mounted stamps to use!
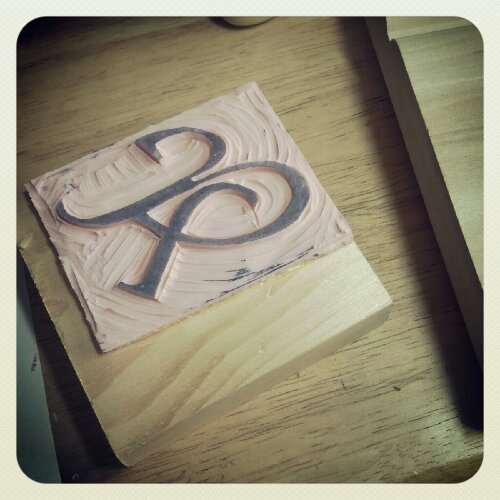
    That’s an ampersand, by the way. I think it’s gorgeous. So there you are. My stamps so far. Matt and I were super please when a month ago, we went into Michaels and they were having a crazy huge sale on blank cards. We got a steal on the basics for our invites…now I get to play around and figure out what I want. In the mean time, I’m enjoying experimenting on the left over pieces of rubber I have now.

    The one on the left is supposed to look a bit like an elephant. Ok ok, I’m workin’ on it! 🙂 I’m still brainstorming here.

    —————————–
    I’m getting married to my, you guessed it, best friend on June 1st, 2013! Matt and I are super-excited and since we have quite a bit of time to plan this thing, I decided it’d be fun to blog about it. Well, maybe not always fun, but at least informative and it might give me a welcome distraction. You can find all the posts by clicking the “Getting Married” tab on the right of this page, or by clicking here. Thanks for stopping by!

    My Pinterest Wedding Board

    Our Wedding Website on WeddingWire.com

  • Getting Married: 38 Weeks – Road Trip

    I met up with some friends last year in Indianapolis and it was my first time to explore the city. I loved it! (You can find my posts about THAT trip here. Sorry Erik, I still don’t have a review up of your seminars.) Matt and I both had Labor Day off work, so we took off early Monday morning and drove over to Indy for a fun day trip.

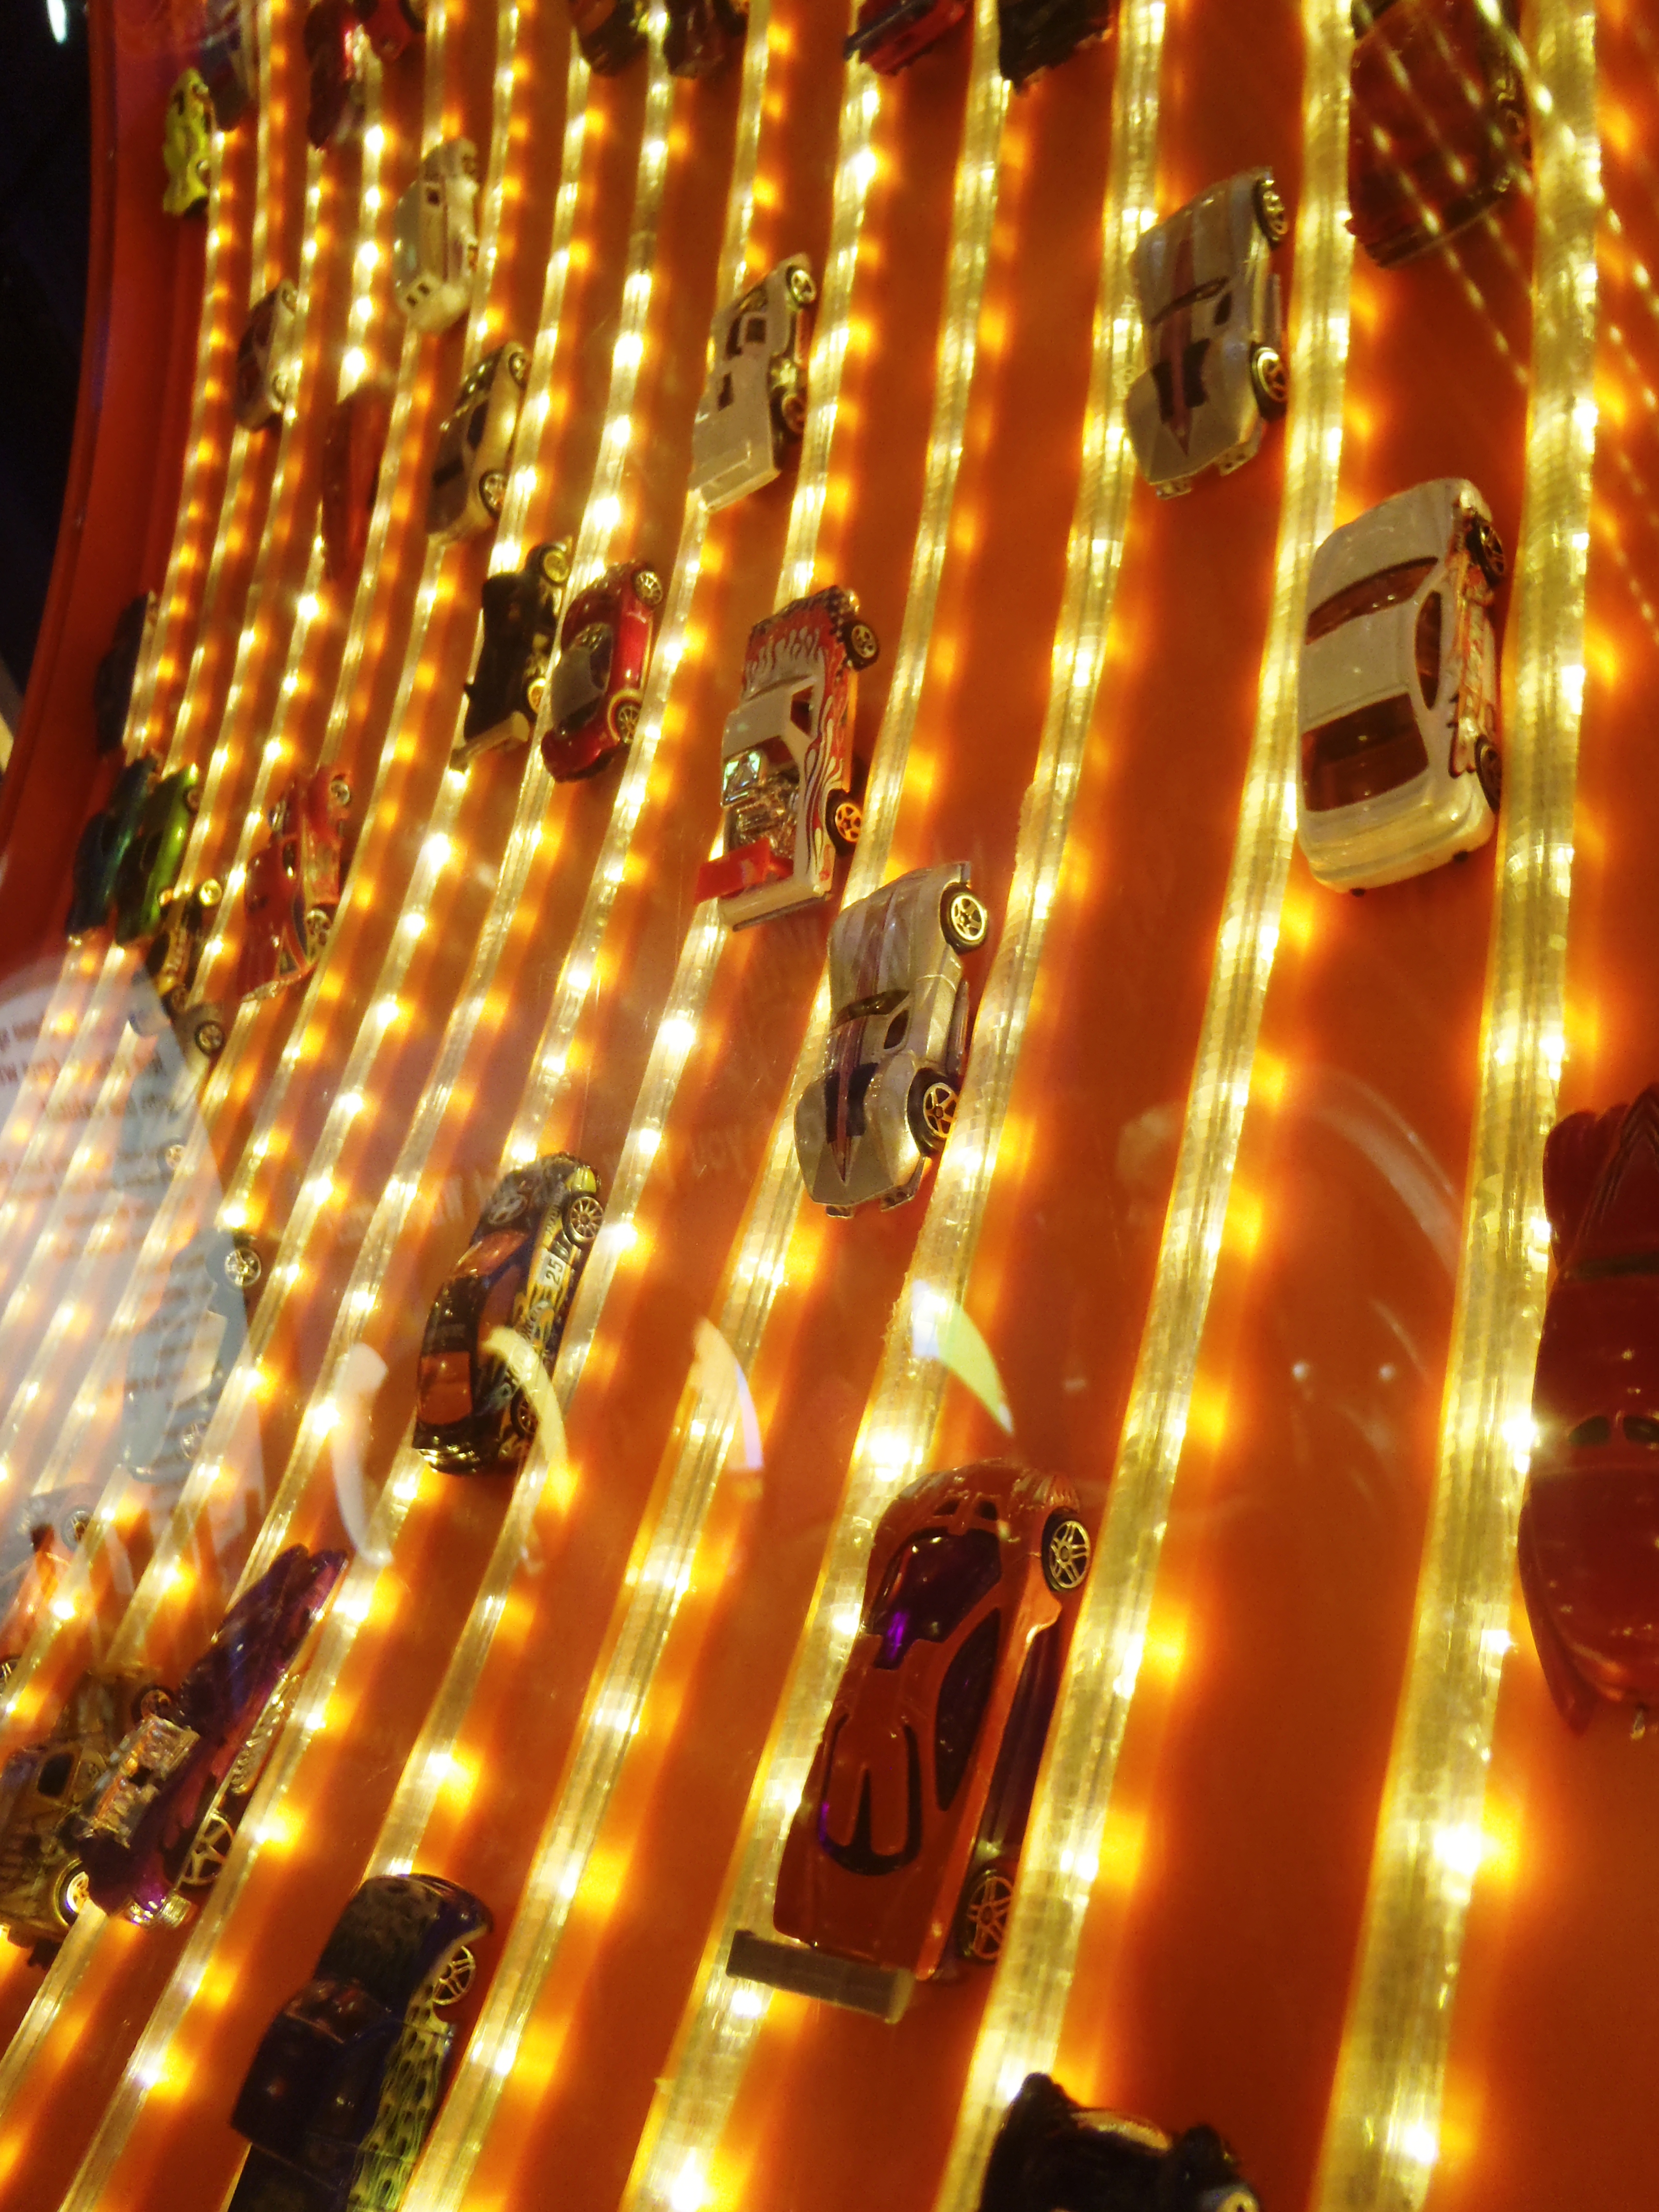
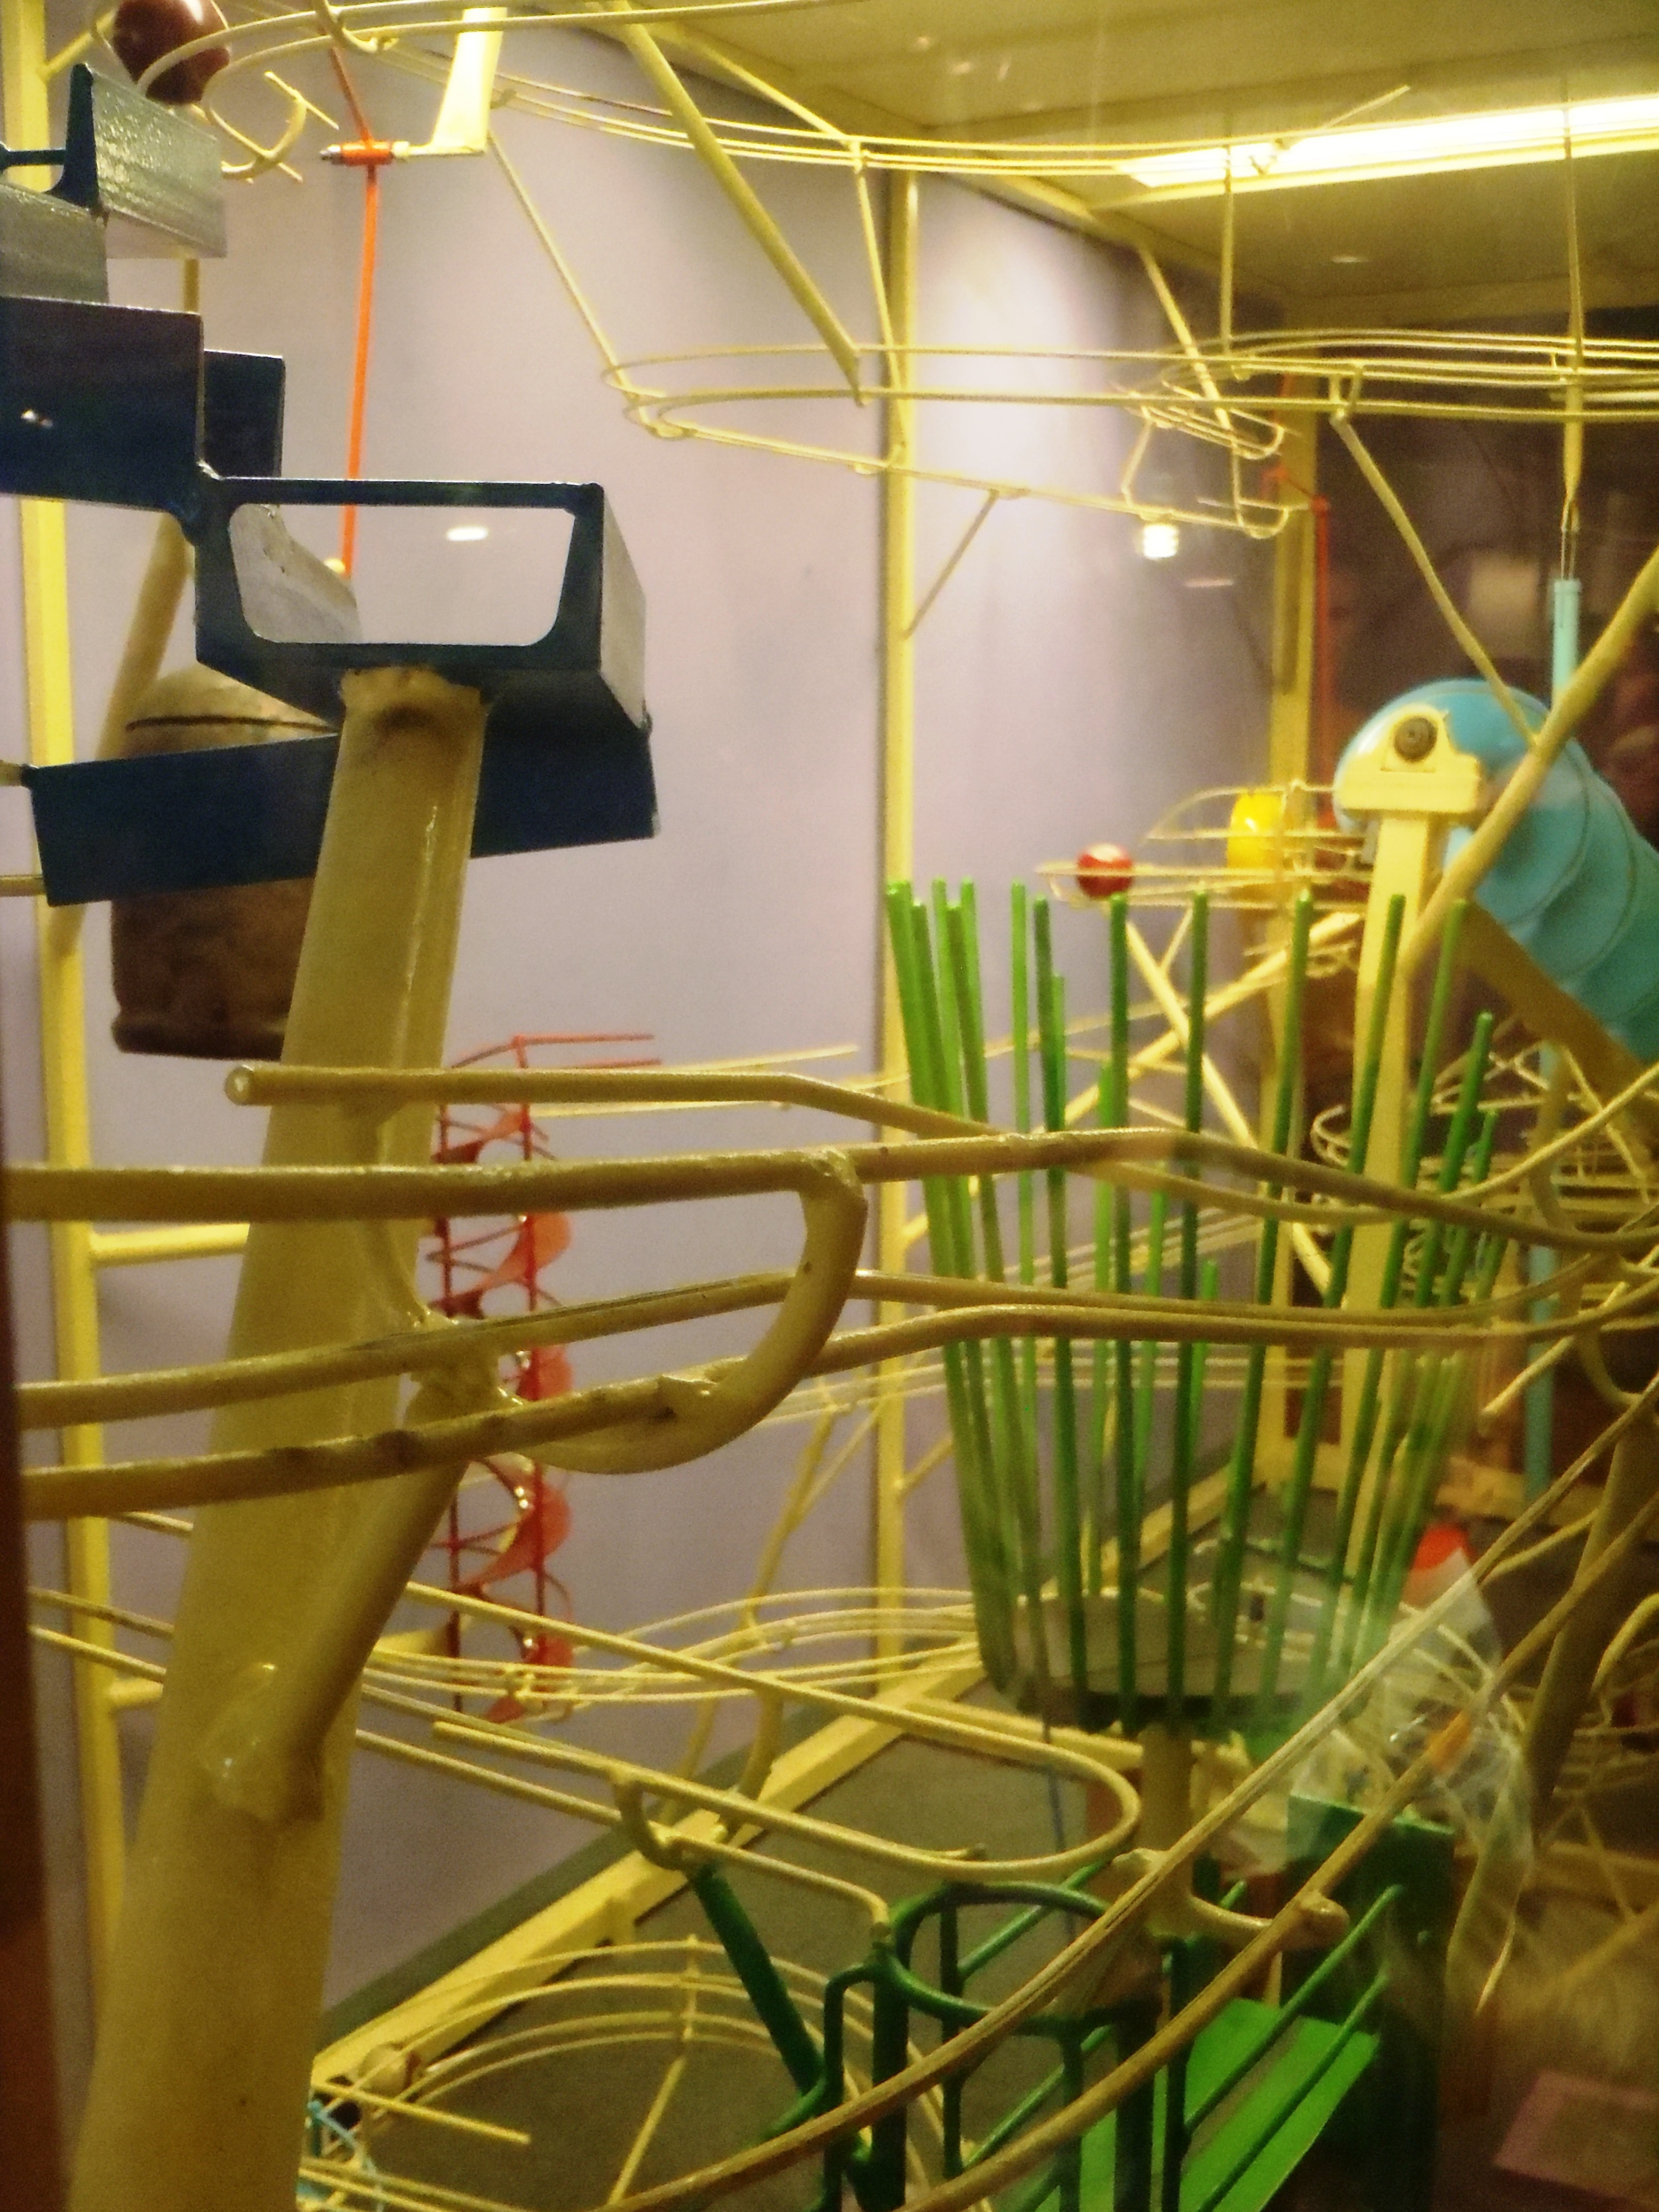
    It was a rainy start, but we made our way straight over to The Children’s Museum. I went there on my last trip and their big exhibit was something on Barbie. My friend Audrey and I were not compelled at all to go check it out. This time, the special exhibit was “Hot Wheels for Real!”

    Matt was so super excited about this exhibit. I had seen that it would be there ahead of time, but Matt didn’t know. He must have said 10 times that his brothers would LOVE to see all of it too.

    Pretty Green Camaro…that’s all I’ve got. Oh, and something about the chrome being tinted, instead of it actually being paint.
    I’m pretty sure this kid is livin’ the dream – a super cape and a hot wheels track.

    There were quite a few boys running around with super-capes tacked onto their shirts. I hold to The Incredibles’ theory on capes though…they sure look impressive, but then they get sucked into an airplane engine and where does that leave you? Not very pretty.

    The dino dome really impresses me. I used to love dinosaurs until I saw Jurassic Park and it gave me nightmares until…last week. Just kidding! (I might not be…)

    Oh look! There’s Barbie, afterall…

    *sings* I am a paaaaa-leon-tooooo-logist.
    We may have been distracted here for a full 5 minutes when we got to the hands-on discovery center…and then again on our way out.
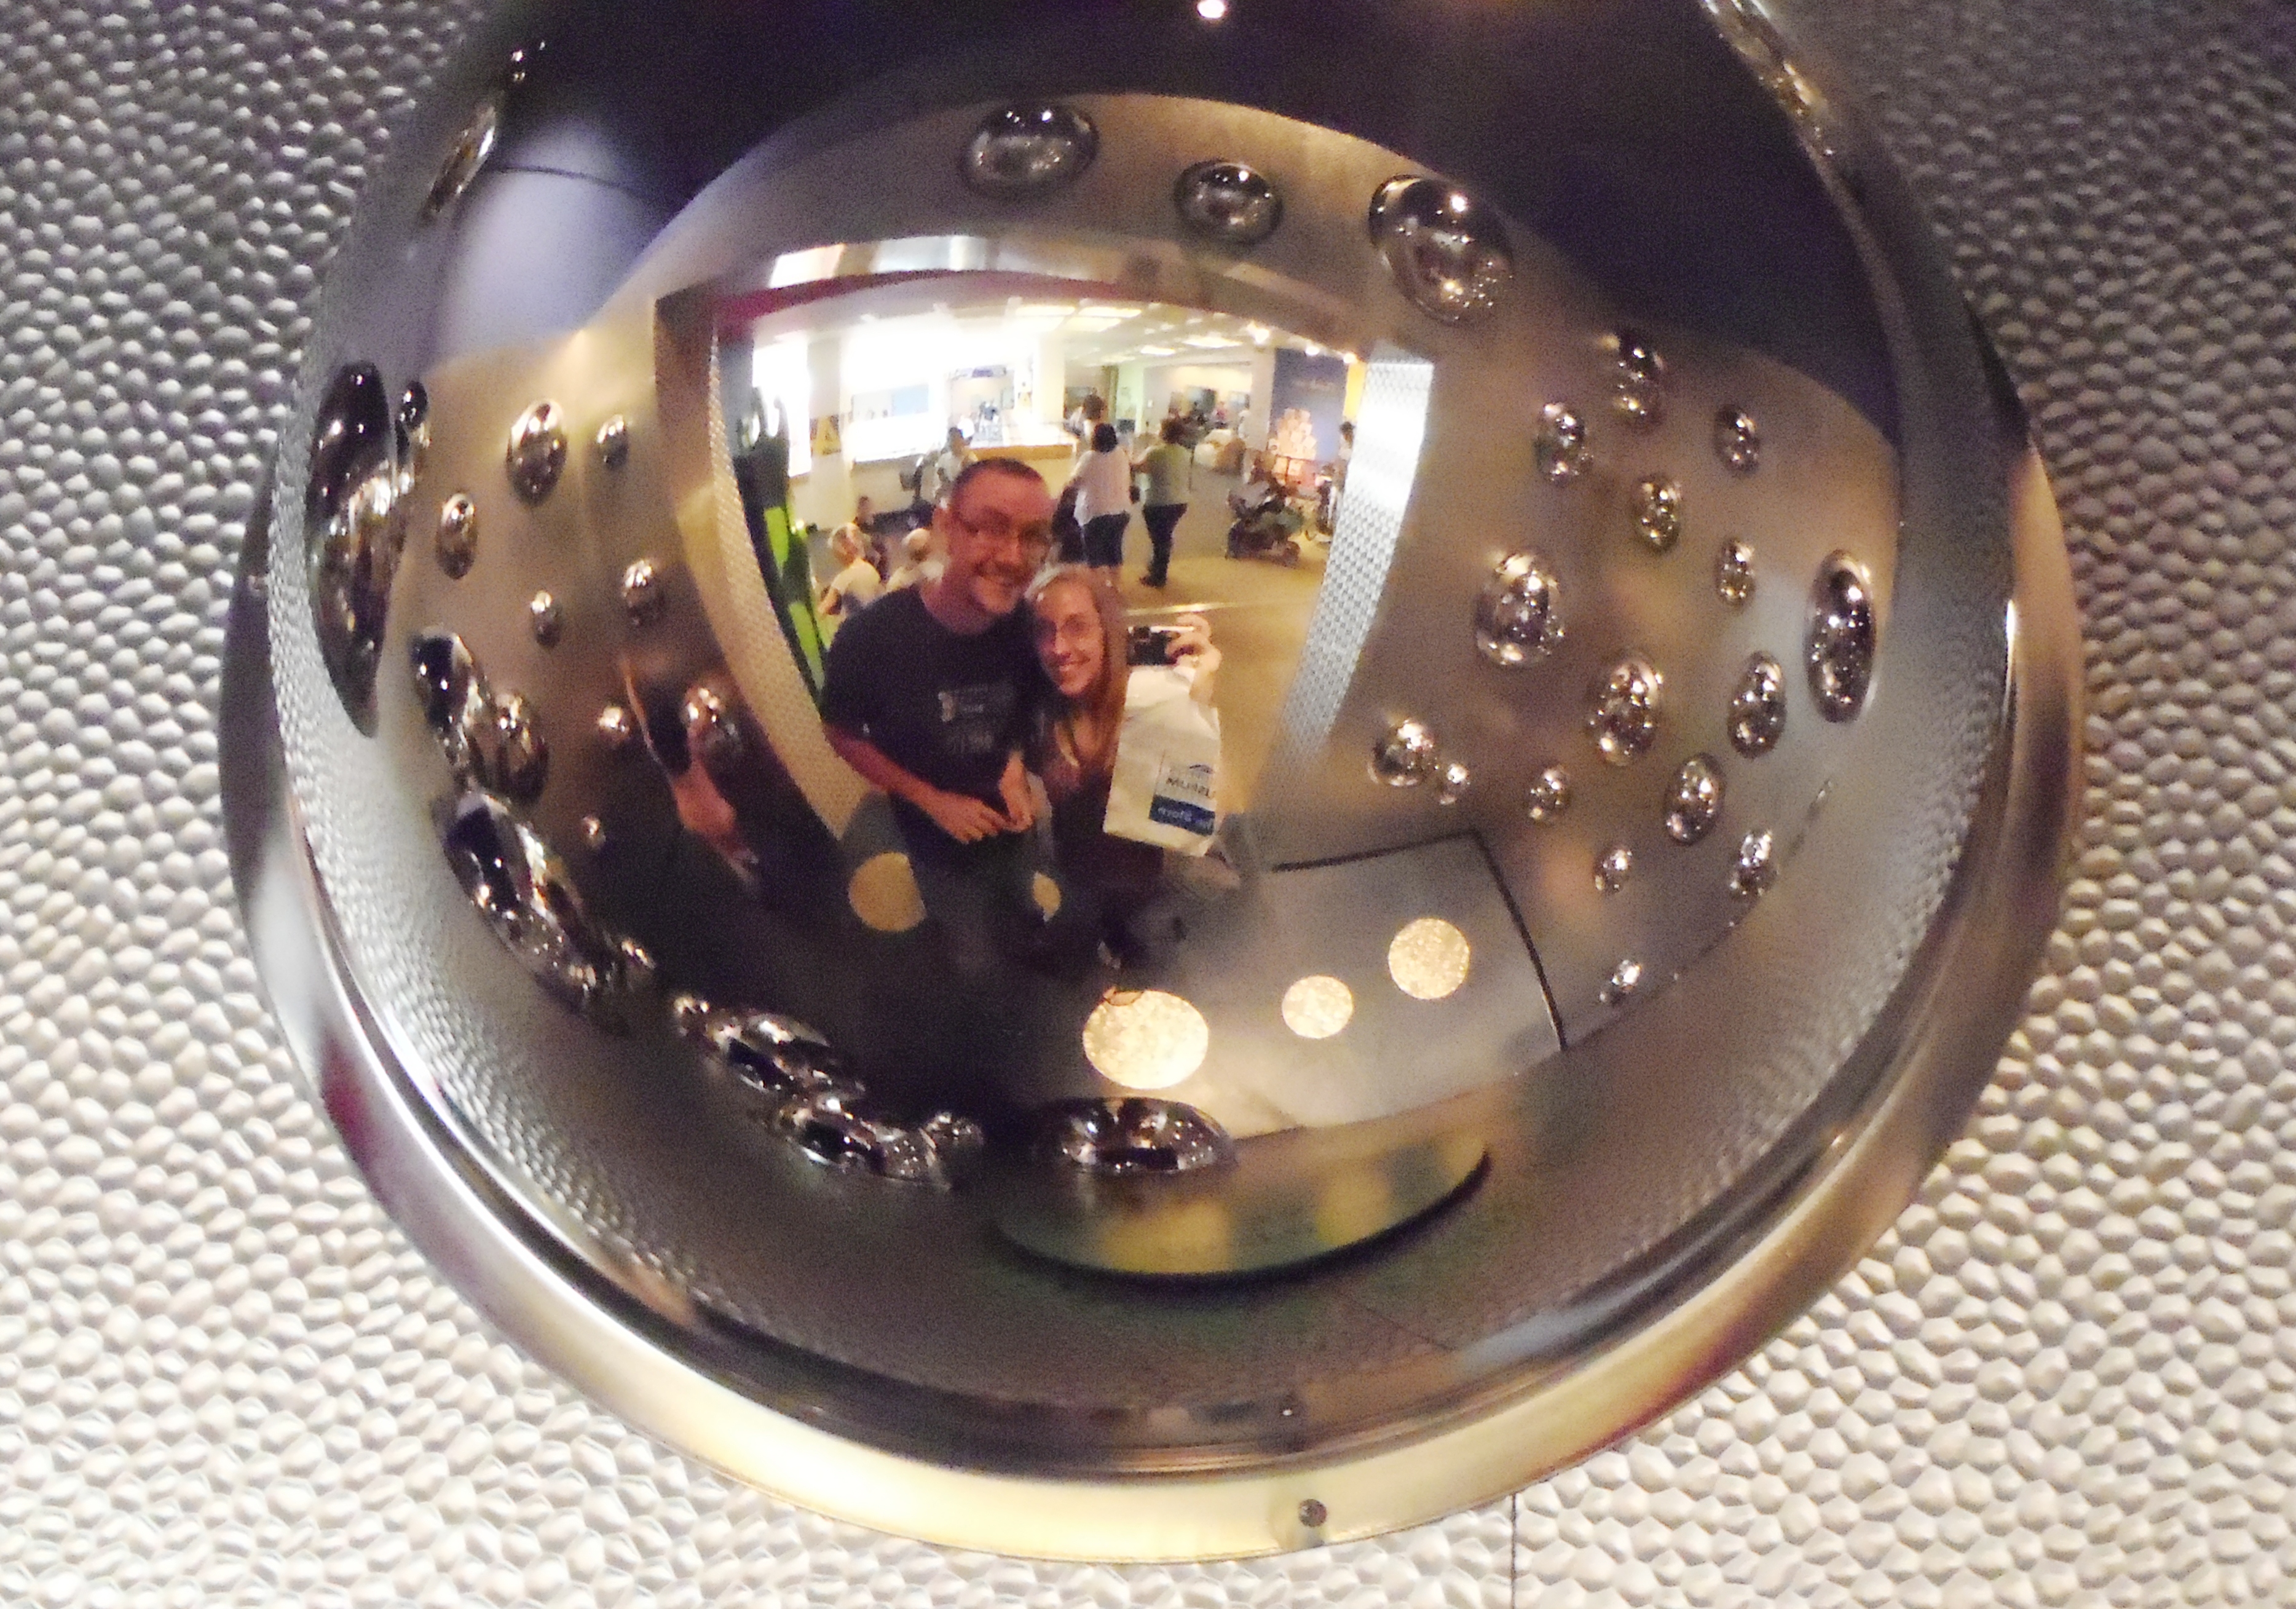
    Mirror Maze!

    After the museum, we drove over to one of my favorite shopping districts. If you’ve never been to Indy, then you should go to Massachussetts Avenue. If you have been to Indy, but haven’t been to Mass Ave, consider this your invitation. It’s much like Hillsboro Village in Nashville and just a lot of fun. There weren’t nearly as many shops open as the last time I was there. Something about it being a holiday… The toy store was open and we found some really fun things in there. The owners were running the registers and commented that they realize just how much they need their regular cashiers. I guess they decided to open that day on a whim and were really pleased with the amount of business they were getting. I asked the wife where we should get our lunch and she recommended Bru Burger Bar across the street. We were starving so off we went.

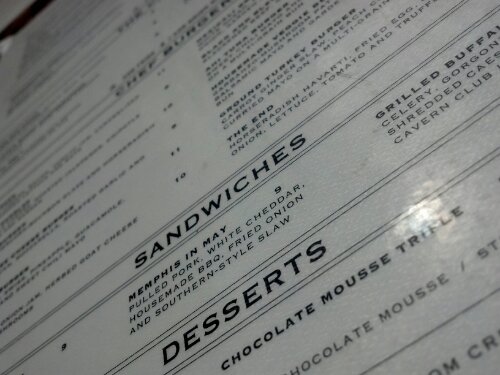
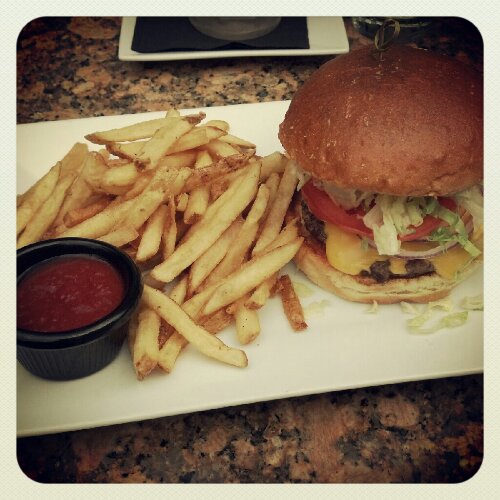
    In the last few years, I have really come to appreciate signature burgers from different restaurants. I never was a burger gal, but I’ve crossed over and was so excited to try one of Bru’s Chef Burgers. I went for the basic called “The Beginning.”

    They call it The Beginning. I call it Delectable.

    It quite literally melted in my mouth. What would take me back to Bru’s, though, is the ketchup – or what they call ketchup. It’s an amazing mix of ketchup, brown sugar, minced onion, and crushed red pepper. I think Matt and I both ran out of the stuff before we were done with our fries. The waitress said she thinks the restaurant was built around the ketchup because you’re always looking for something else to put in it.

    Pensive face over how amazing his blackened mahi-mahi sandwich is.

    After we stuffed ourselves and decided to move on, we walked over to one of my favorite shops, “Silver in the City/At Home in the City.” It’s actually two shops in one and is full of some incredibly witty, sarcastic, and sometimes irreverent material. Here are a couple of things we found:

    Marcel the Shell with Shoes On: Things About Me

    Have you ever seen Marcel the Shell with Shoes On? No? You must!  Go here and then here. We were *thiiiiiiis* close to buying one. He talked about the many large monuments in his hometown (hint, they’re athletics trophies) and what his breadroom is like. Yes, his breadroom. If you’re still confused, then go back to where I said “here” and “then here” and go there. Seriously, why are you still waiting?

    Reading is Sexy and Knitting is Knotty.

    The only thing that kept me from buying one of these is that they’re plastic. Other than that, we thought these were hilarious and very fitting…for me. 🙂

    —————————–

    I’m getting married to my, you guessed it, best friend on June 1st, 2013! Matt and I are super-excited and since we have quite a bit of time to plan this thing, I decided it’d be fun to blog about it. Well, maybe not always fun, but at least informative and it might give me a welcome distraction. You can find all the posts by clicking the “Getting Married” tab on the right of this page, or by clicking here. Thanks for stopping by!

    My Pinterest Wedding Board

    Our Wedding Website on WeddingWire.com

  • Insta-post: Paint By the Glass

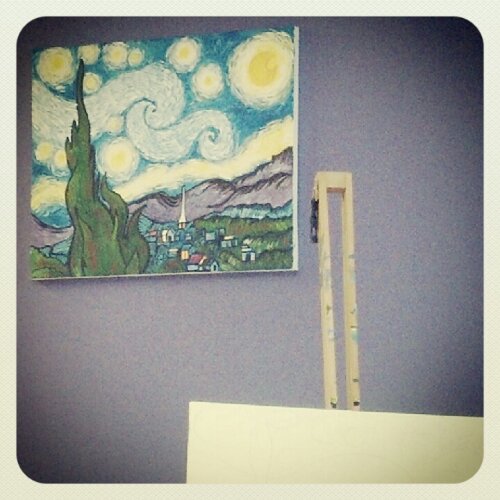
    Friday night, I indulged in a fun evening of painting at Paint By the Glass. I’ve gone three other times, the last one being to paint a vibrant color rendition of Union Terminal in downtown Cincinnati. This time, my mom joined me to paint Van Gogh’s Starry Night.

    We have been so excited to do this one. In case you don’t know about Paint by the Glass, here’s the gist. A “class” is held and people can sign up to come to a specific painting class. The painting is sketched out on the canvas and the artist instructs and demonstrates for those in the class. They serve wine and such as well as hors d’oeuvres. You can read about my first visit here. I’ve gone with friends and also by myself and enjoyed myself in both settings. I’m not usually intimidated by flying solo for an evening.

    image
    Sampling of the paintings they do in the class.

    Some of these I hadn’t seen before; I would love to do the butterfly and flower one at the bottom!

    image
    Nothing like well-loved brushes.
    This is probably my new favorite thing! If only it didn’t come in a plastic bottle!

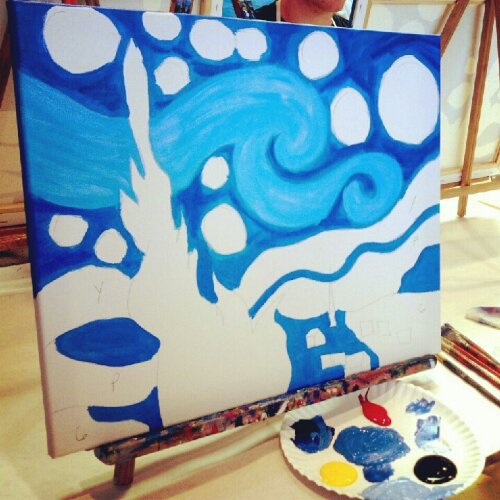
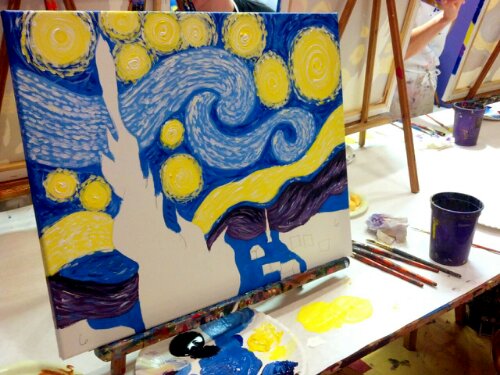
    They always start you off with a blank canvas and the picture sketched onto it. This is the first time I’ve ever seen them give any guide to the colors and such on the canvas, but it was very helpful since there was a lot going on with this painting.

    Blues are fun. This painting took a lot of blue. I mean, A LOT of blue. And yellow, but that comes later. You always start from the furthest thing back and come forward in the picture. We were supposed to do it all in flat colors, but I wanted to make mine with a little more texture before putting on the etch strokes. I like how it turned out.

    Cloud etches, purple mountains and swirls in the sky
    Yellow!

    I wish I had paid closer attention to how big the yellow circles were and actually closed them in a bit with the blue, but it turned out alright having really large moon and stars. Making the swirls within the stars was probably my favorite part.

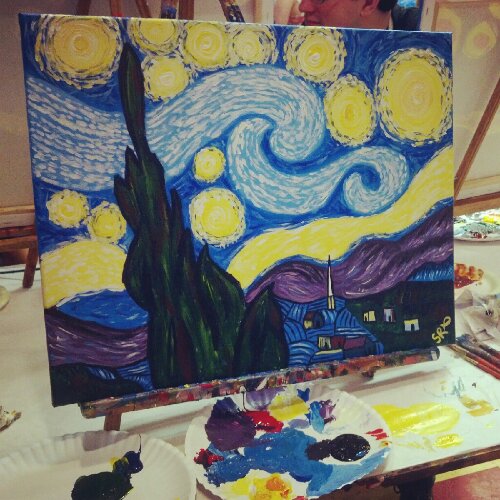
    My final product! ‘Twill look great in The House!

    I love how my tree and village turned out on the bottom. I had so much fun painting this! I think I do a lot better with more abstract painting. There aren’t as many rules, but I love coming to these classes and learning little tricks here and there to be a better painter. Kat and Ashley were the instructors that night and they were so helpful. We had such a large class that both were painting a canvas and walking around to help.

    Well, you already know that I’m a pretty big nerd, but I do get it honestly! My mom loves to watch the show Doctor Who and got me hooked on it as well. One episode, I think last season, had The Doctor and companion Amy go back to visit Vincent Van Gogh. Afterwards, when they were in a modern art gallery, they looked closely and found a Tardis (his space ship) tucked into the painting. Mom was really keen on duplicating that into her painting. She got the basic shape down and then Kat (a fellow Whovian) helped fill in the details. Mom is so excited for her painting now.

    Check out my previous review of Paint by the Glass here!

autumn (6) Bible (15) bible verses (12) book list (5) Butler County Ohio (6) calendar (13) Christian (7) Christianity (7) Christmas (7) Cincinnati (18) Fairfield Ohio (6) featuredq (5) FIAR (8) Five in a Row (20) gardening (8) Getting Married (48) God (9) Holiday (7) Home (5) homeschool (26) homeschool curriculum (13) human trafficking (8) invitations (5) Japan (6) kindergarten (5) missions (4) Nature Study (6) Ohio (10) picture books (23) Pinterest (10) poem (69) poetry (71) prayer (7) preschool (6) preschool homeschool (7) printables (8) read aloud (26) Relationships (37) Religion and Spirituality (7) Review (5) Treehouse Schoolhouse (6) United States (8) Verse a Day (12) wedding (40) Weddings (7)

Disclaimer: This site uses some affiliate links. This costs you nothing, but helps supplement our homeschooling costs.

Subscribe to this blog so you don’t miss any posts: