I had bought, a couple years ago, some photoclips handy for putting together a photo collage on the wall …or wherever…but I didn’t actually decide to use them until this week. We have a lot of empty wall space in The House, but I’ve been hesitant to put anything up until I know exactly where I want everything. It’s a catch-22, that’s for sure.
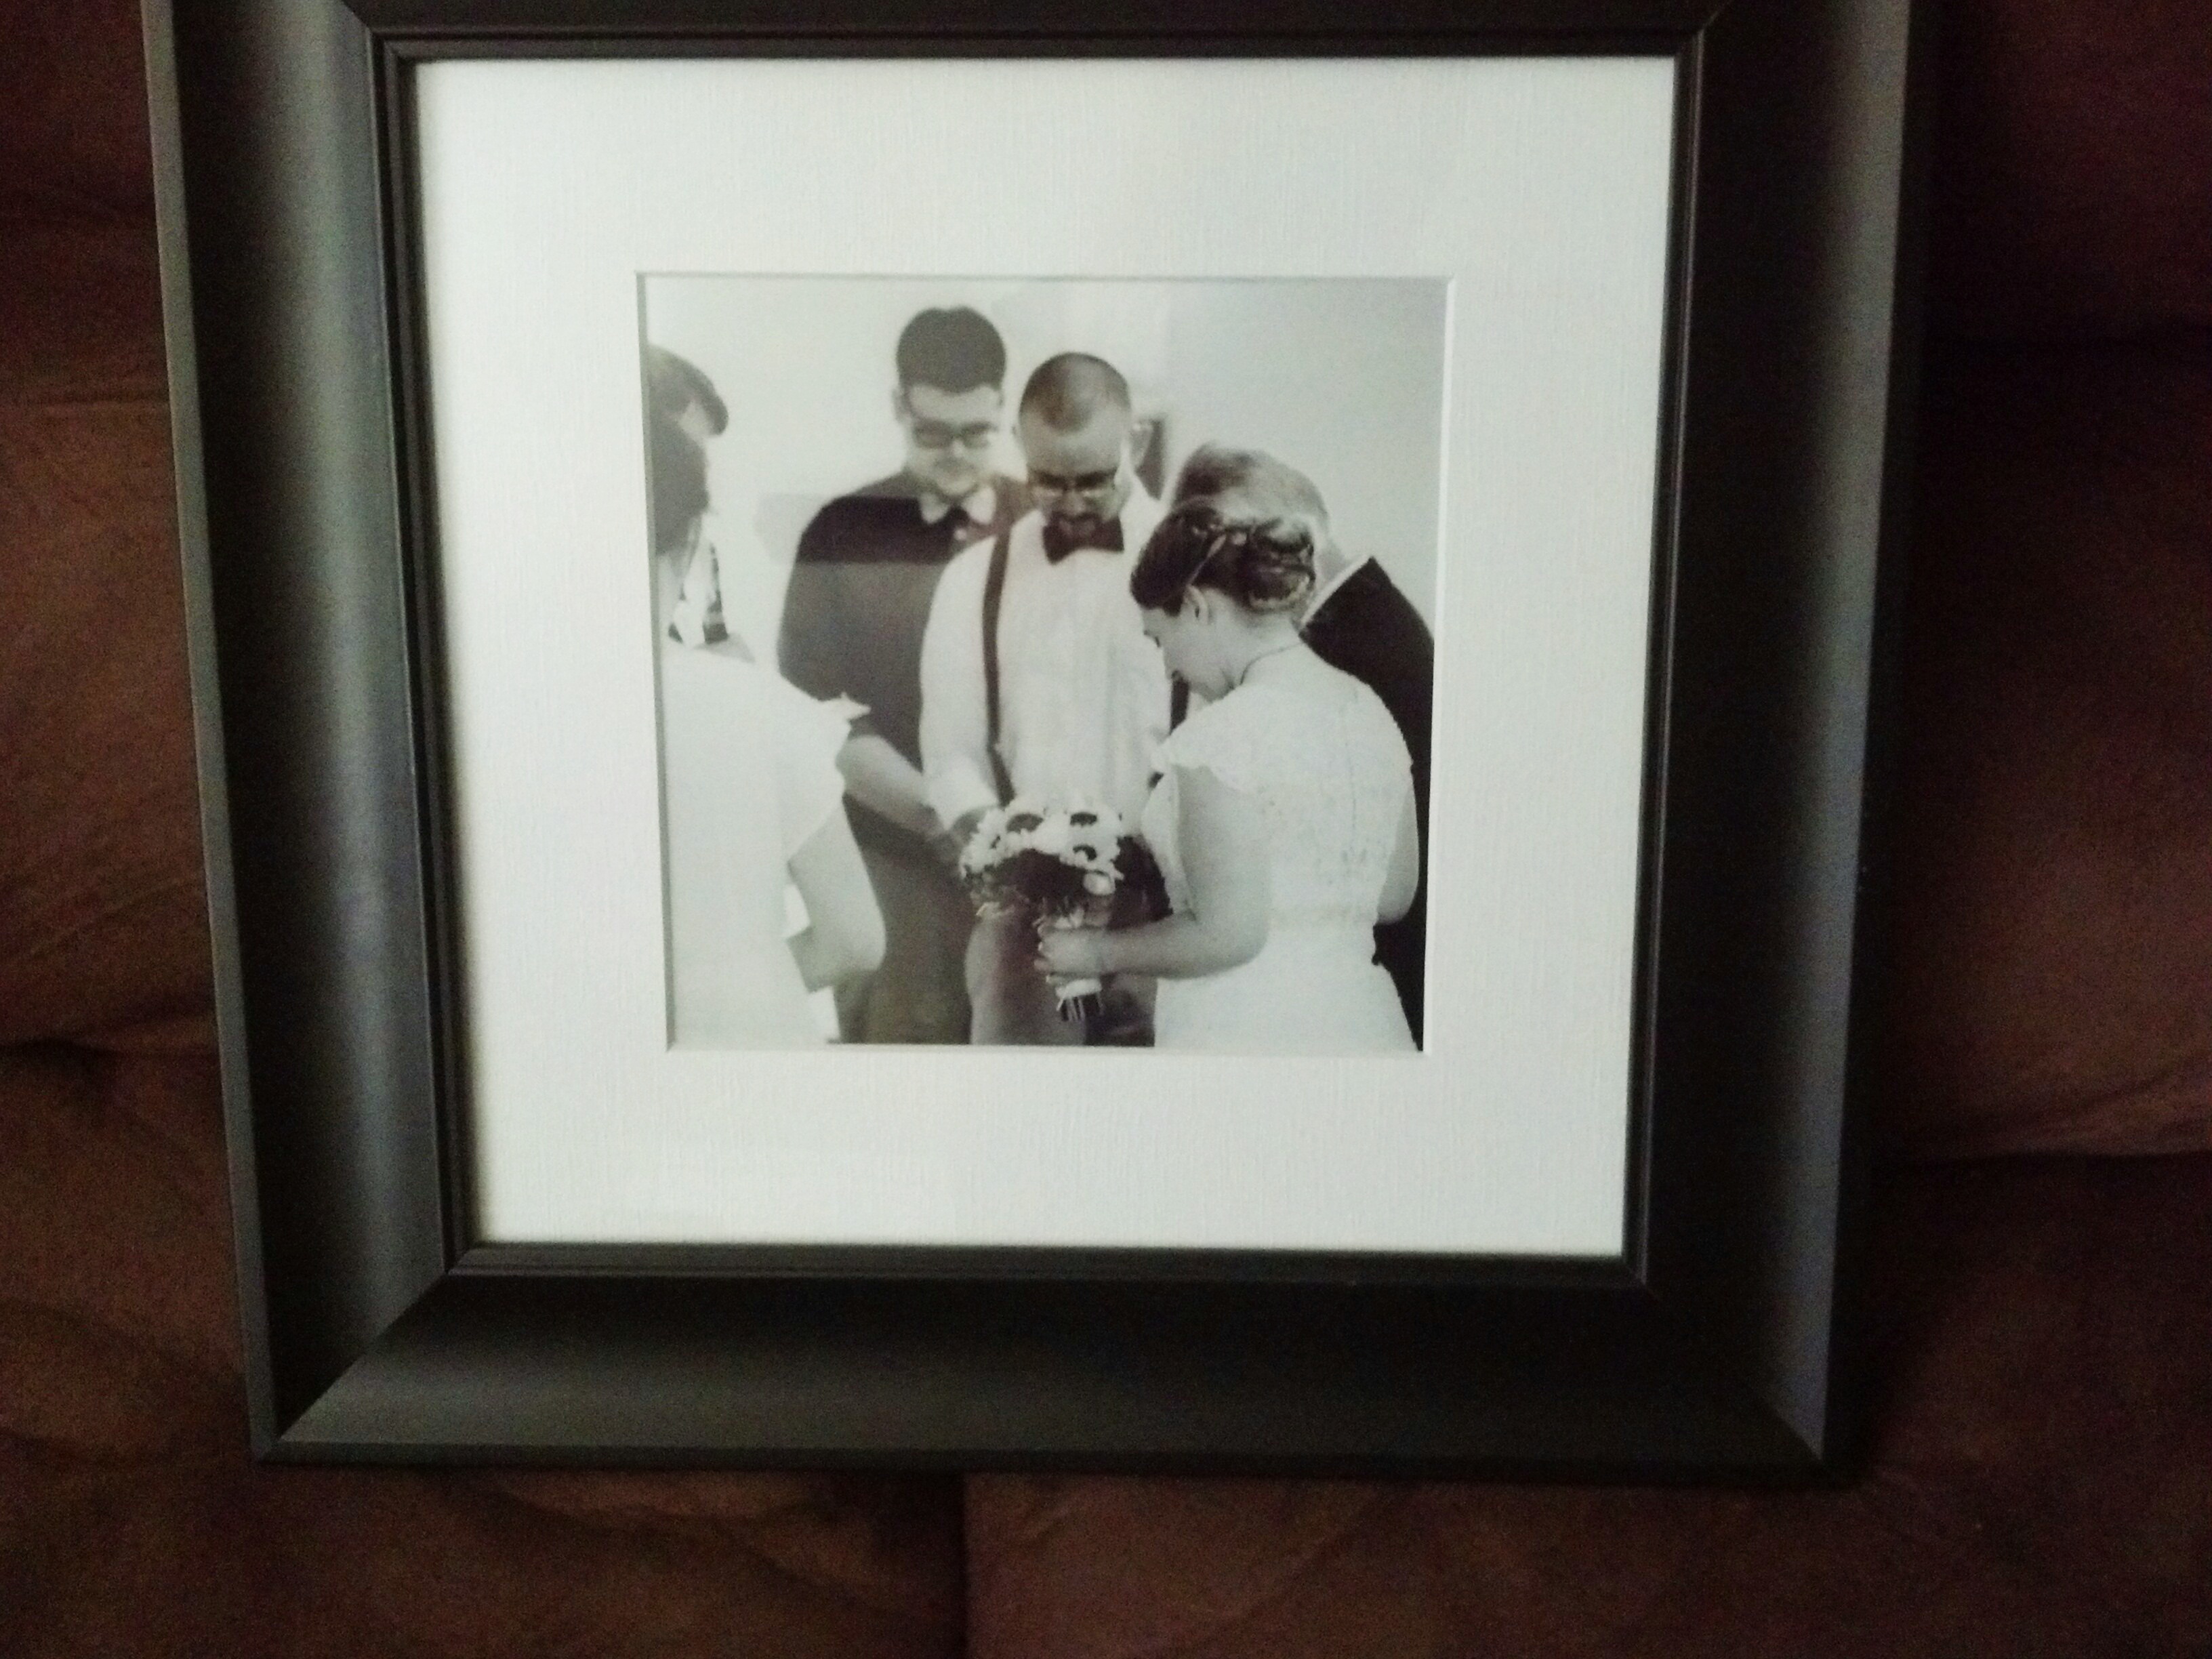
One space, though, that I did know what I want, was the wall at the end of the hallway. The space is tiny, not even 40 inches wide, but it’s tall. We only just ordered prints of all our wedding photos and I decided that I would go to town with the leftover ones that didn’t make it into the “official” photo album to show people when they visit.
Here are the deets on the photo clips:
I used Lomography Fotoclips. They are everything that I love about an item: functional, unique, creative, adaptable, and a crazy mix of nations (Japanese, Russian, and Austrian [the Japanese might be just an inference on my part, but they feel soooo very Japanese]). I was first tipped off to them by one of the many photography folks I follow on Facebook/Instagram/etc. They put together a mural on their own wall and I loved the concept, so I bought some. They have a hole in the center for a nail for the wall, if you choose to hang up the collage that way,with two wedge openings on opposite sides that grip and connect the adjacent photos.
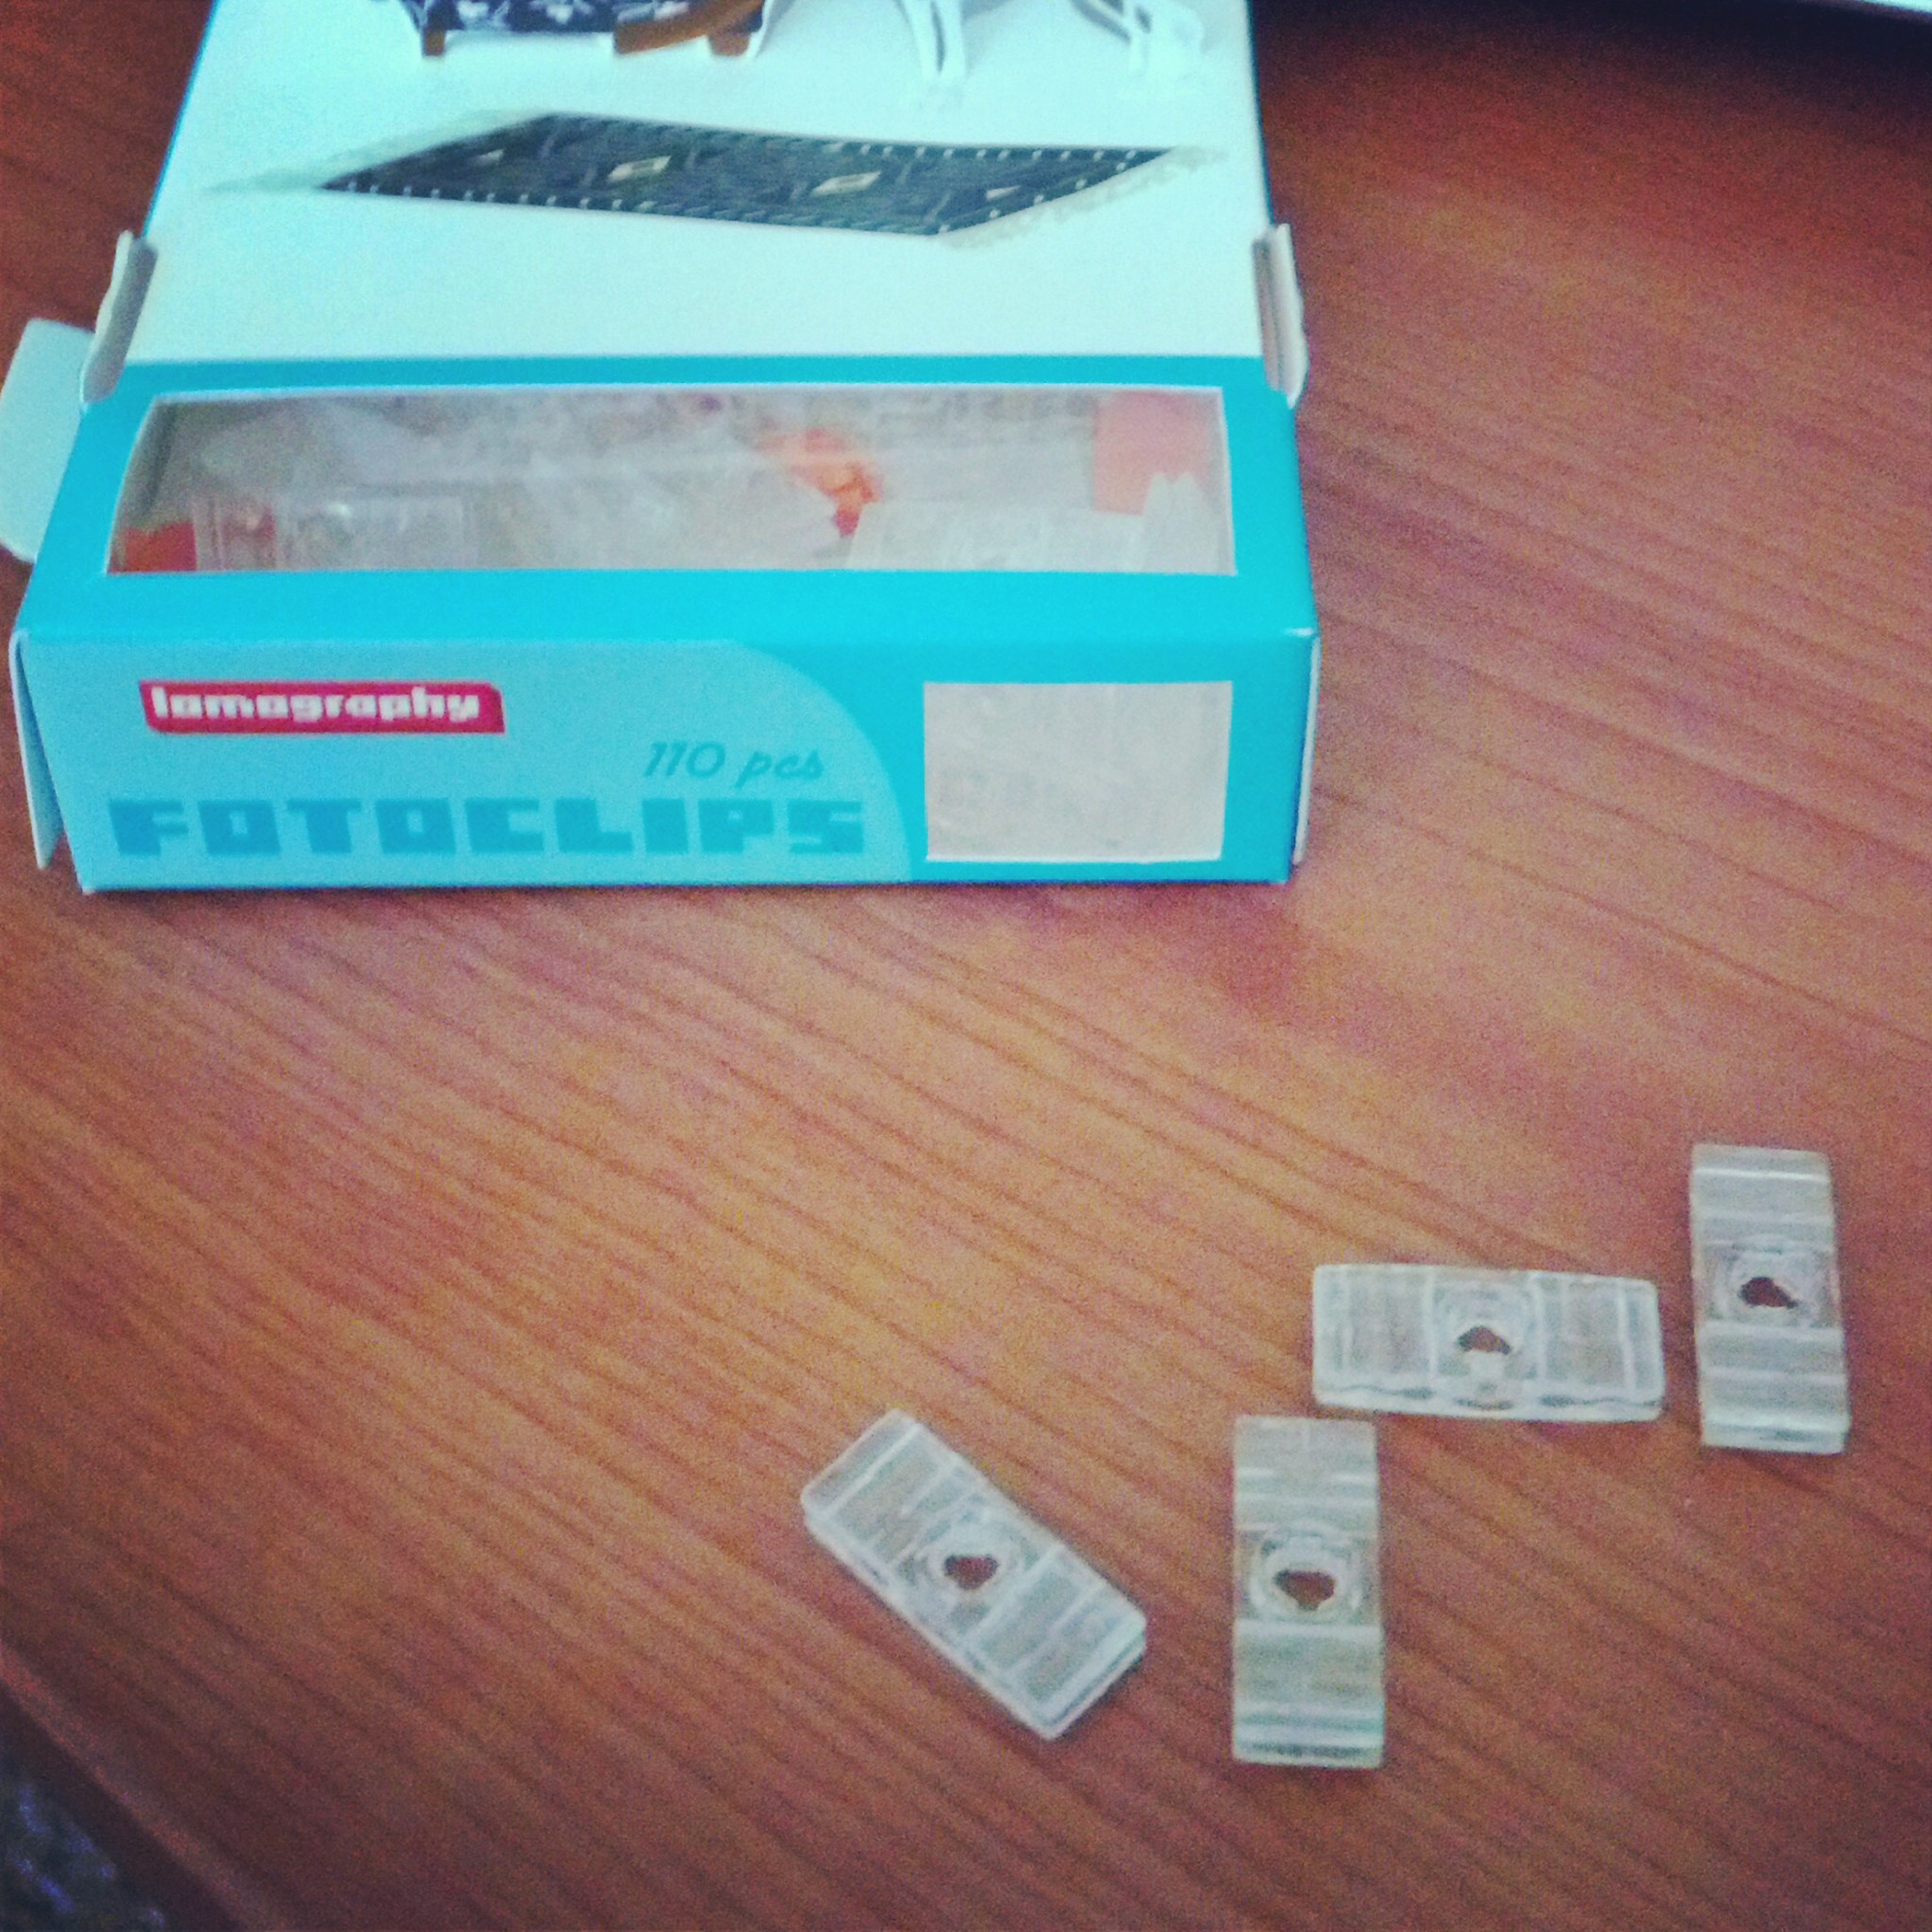
They grip the photos really well that I wasn’t sure I needed to anchor any clips other than the top ones, but I decided to go ahead and use some ribbon to accent and to hold them all together. Um, I’m not sure how much better I’ll be at describing these things, so you should probably just go to the link above if you’re interested. I will show how I used them below, though.
So, I began by arranging some of the pictures out on the floor. Then, I realized that I should probably measure the wall space before I arranged any more. I did, and then continued to arrange more photos. It was fun. Matt just watched and then I had to leave and then he had to go to work. Here’s the mess I left on the floor.

I like the alternating columns of horizontal and vertical, but it proved difficult when I decided to hang them. I wanted the whole collage to be centered on the wall, but then the divide between the left three columns and the right three columns was not the center of the photos. There was much more measuring, and mathing, and leveling, until I finally got the columns where I wanted them. I drove a nail through one of end of the ribbon and then began to add the photos. I decided that I would use the ribbon as the anchor and every second or third clip, I stitched the ribbon through the hole of the clip to keep it from sliding down or getting too heavy.
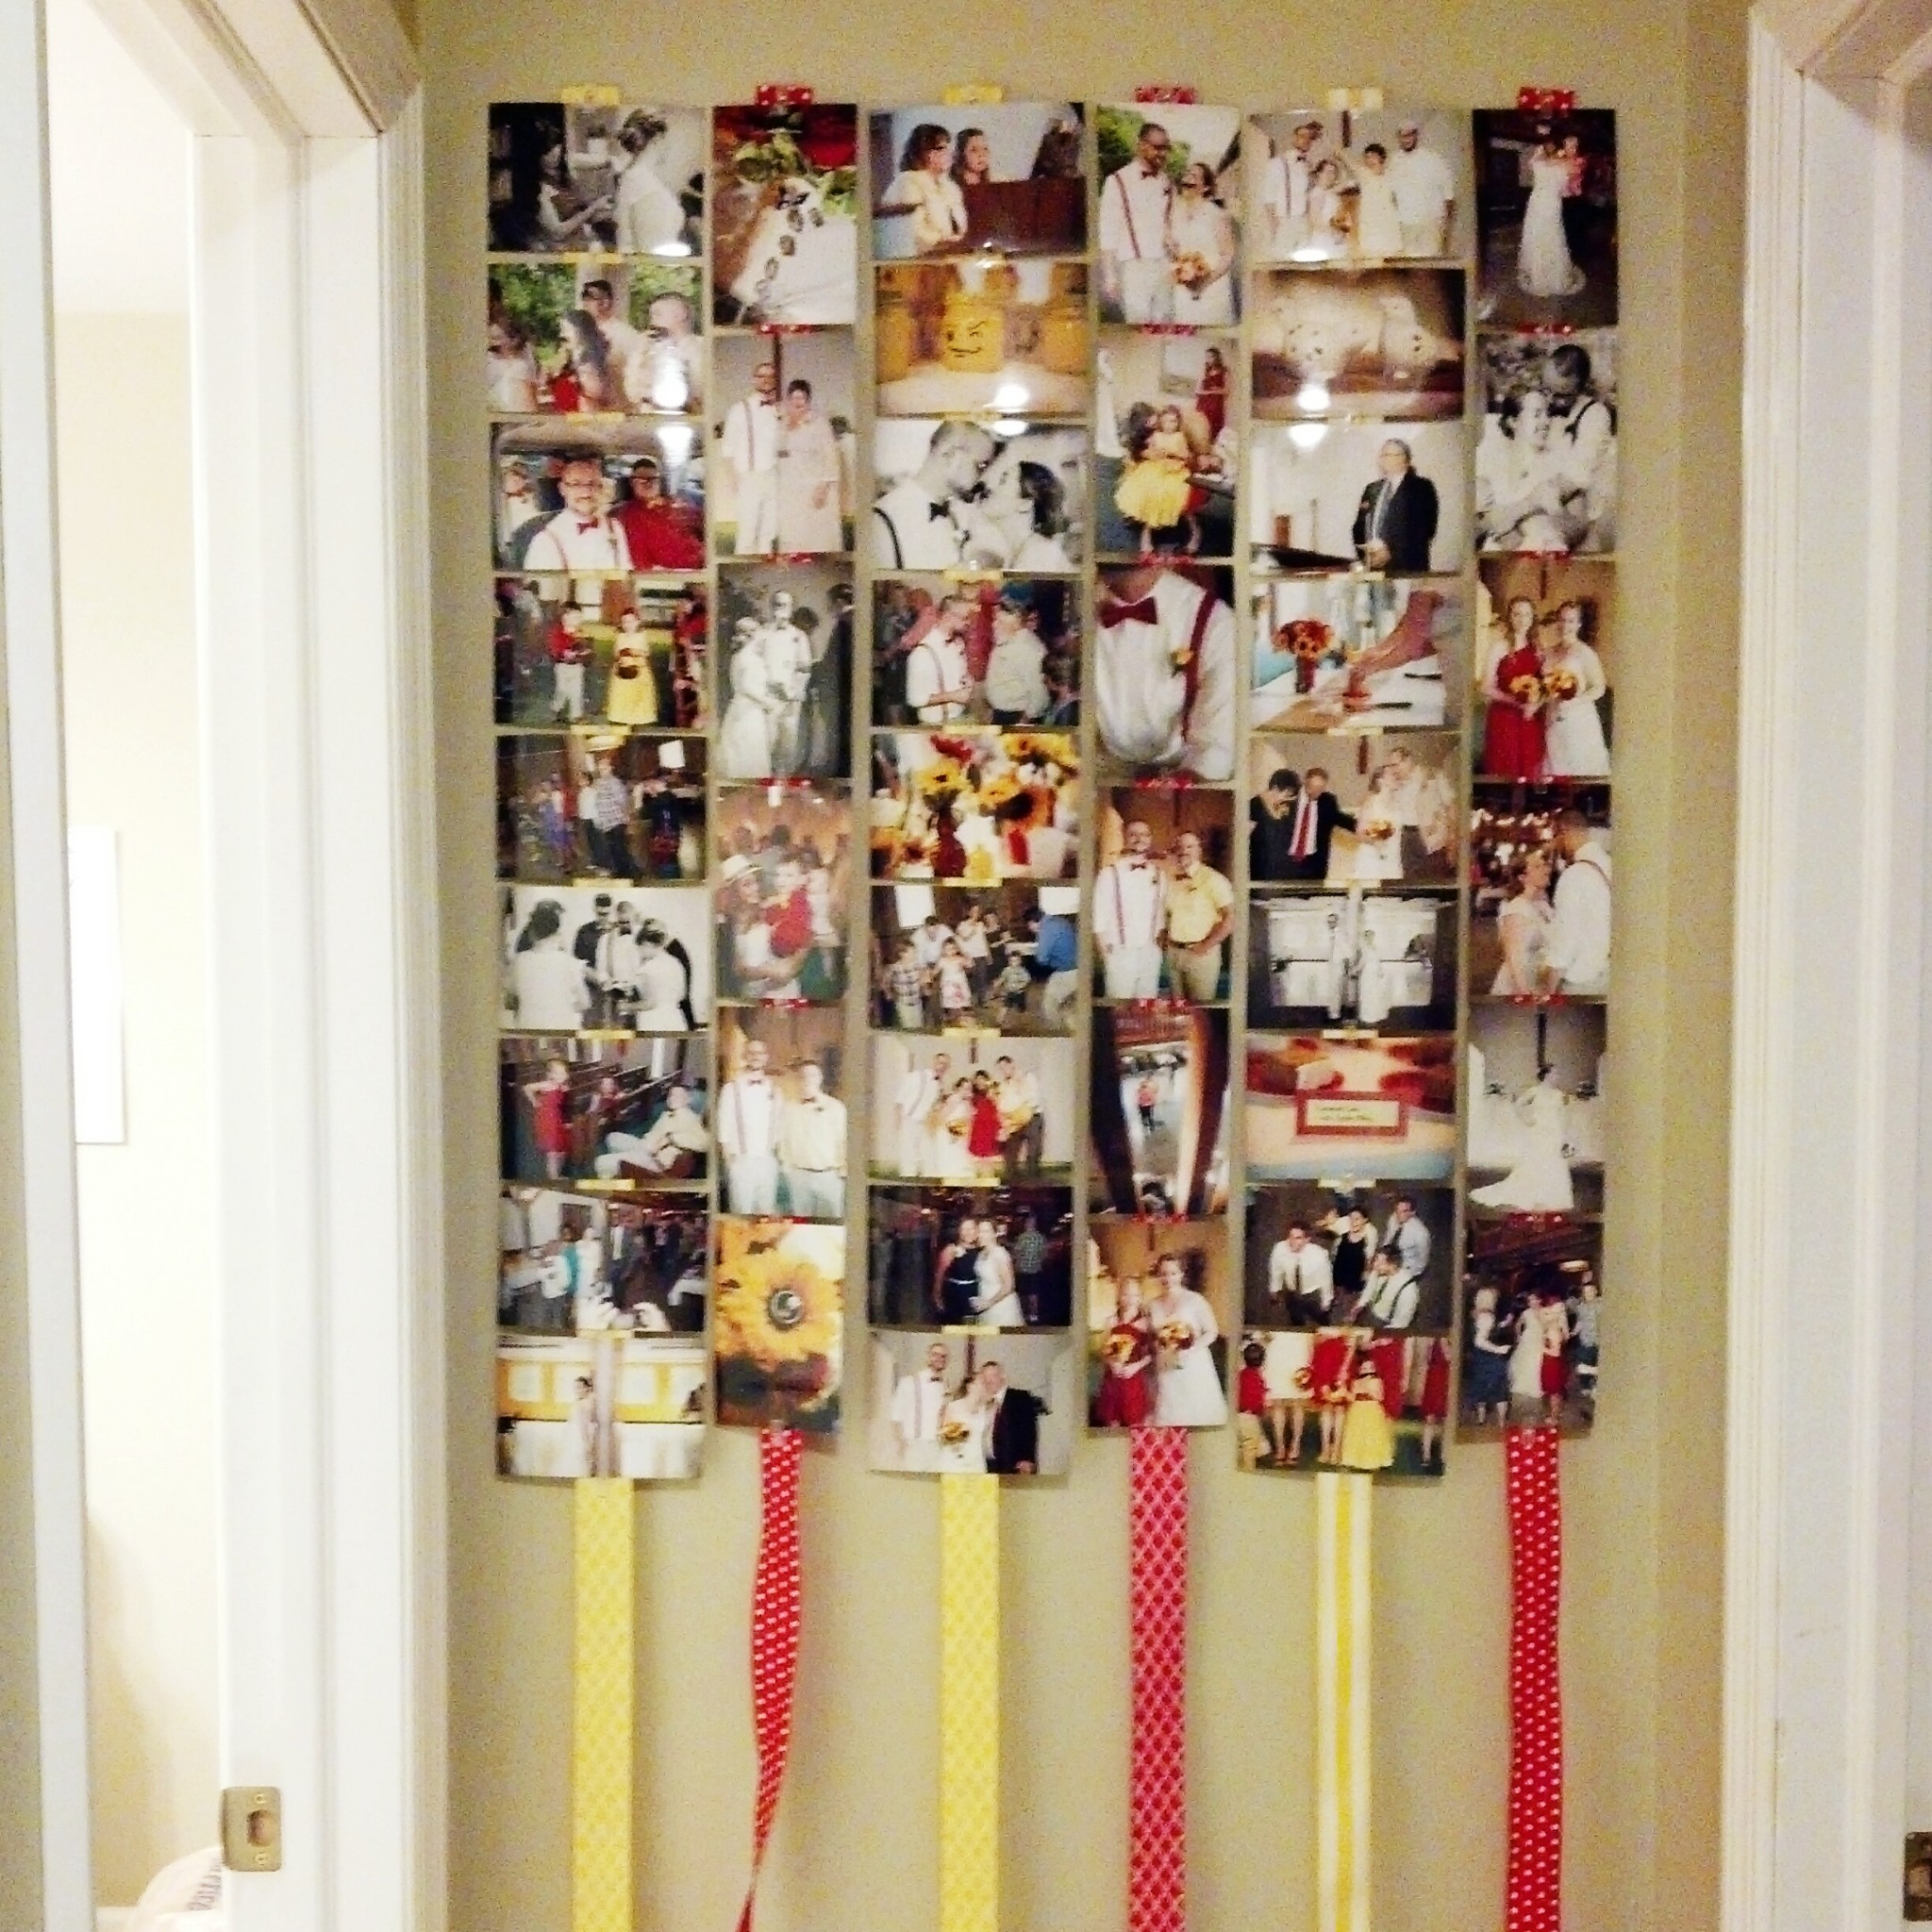
I left the ribbons hanging until I decided just how long I wanted the collage to hang. At this point, the columns are hanging by themselves, stitched to their ribbons, but not connected to each other. The clips work great vertically as well as horizontally, and with the extra support of the ribbons, I didn’t have to clip each and every photo to the others. Once it got to a manageable height, I cut the ends of the ribbons and began connecting the columns to each other. They were a tinge off kilter, but I was able to press them down in spots and get them to hang freely close to the wall.
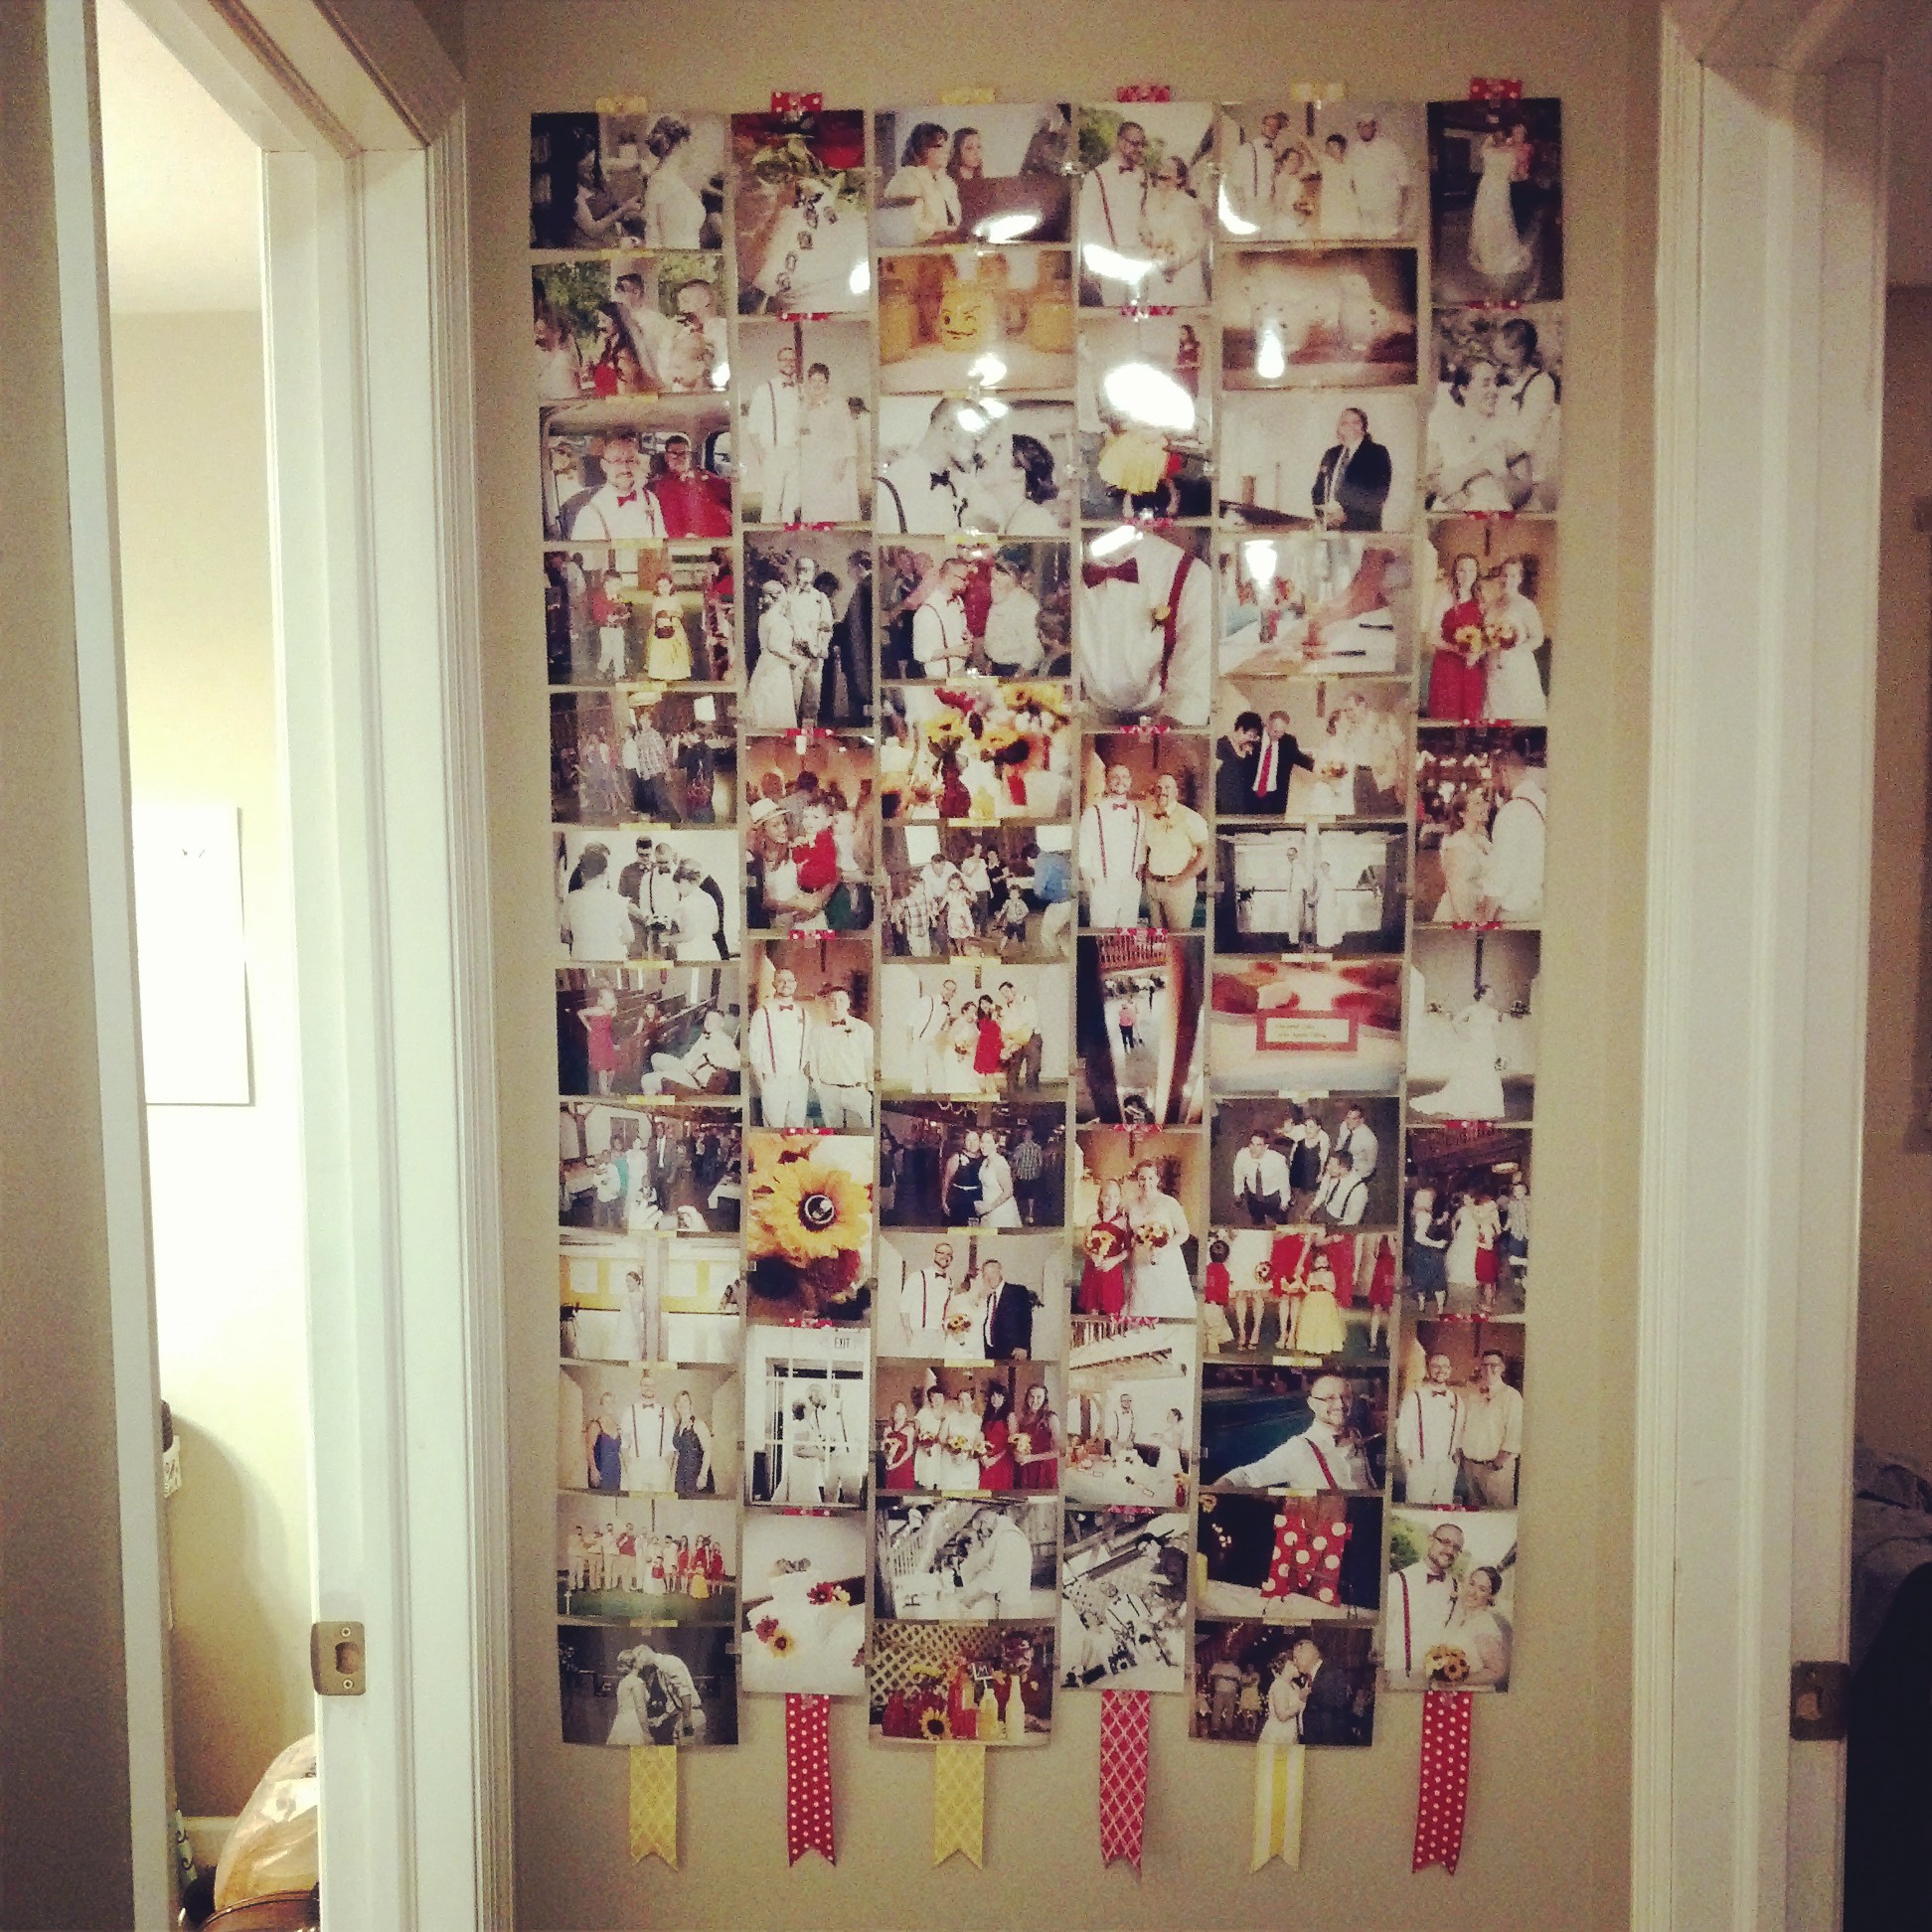
I love the colors and that all the photos are such fun shots. We had a blast at our wedding and I wanted the collage to reflect that and remind us every day as we leave and enter our bedroom that we were made to encourage and live joyful lives. A joyful marriage is something that is so tangible and easily felt by others, and joy is contagious. I think that’s why it’s my favorite Fruit of the Spirit.
By the way, today, Matt and I arranged some stuff for the primary wall in the living room. I’m really pleased with how it turned out.

I got an idea to turn a basket onto the wall and hang some photos inside it. The basket is a little deeper than I probably would prefer, but I still like how it looks.

I strung some twine through the basket and the attached some Lomo Fotoclips to the horizontal lines. Then, I clipped three photos that show off our whole family: My mom and sisters on the top, Matt’s side in the middle, and my dad and fam on the bottom (with the mustaches…of course). I did add a sunflower for an accent because it just wouldn’t be something of mine without a sunflower.
The map was a gift from my mom when I got home from Japan. I love it. There are pins to tack where I’ve been, where I want to go, and where I’m going next. I don’t have anything in the “next” part, but I have pins all over the map. The plate label says, “XAPA to the world” which is the Greek work for “joy.” It’s pronounced “chara”, by the way, like car-uh.

The shelves are from Ikea, but the knickknacks are from all over. Let’s see, elephants with heart were from my dad and step-mom. I bought the small snow-globe from the airport in Dubai, the next one was from the airport in Moscow, and then an alabaster elephant from Cairo, and I believe the camel came from Israel. On the second shelf is a frame from my aunt, a snowglobe from Tokyo, a big letter M from Michael’s, and the elephants from on top of our wedding cake.
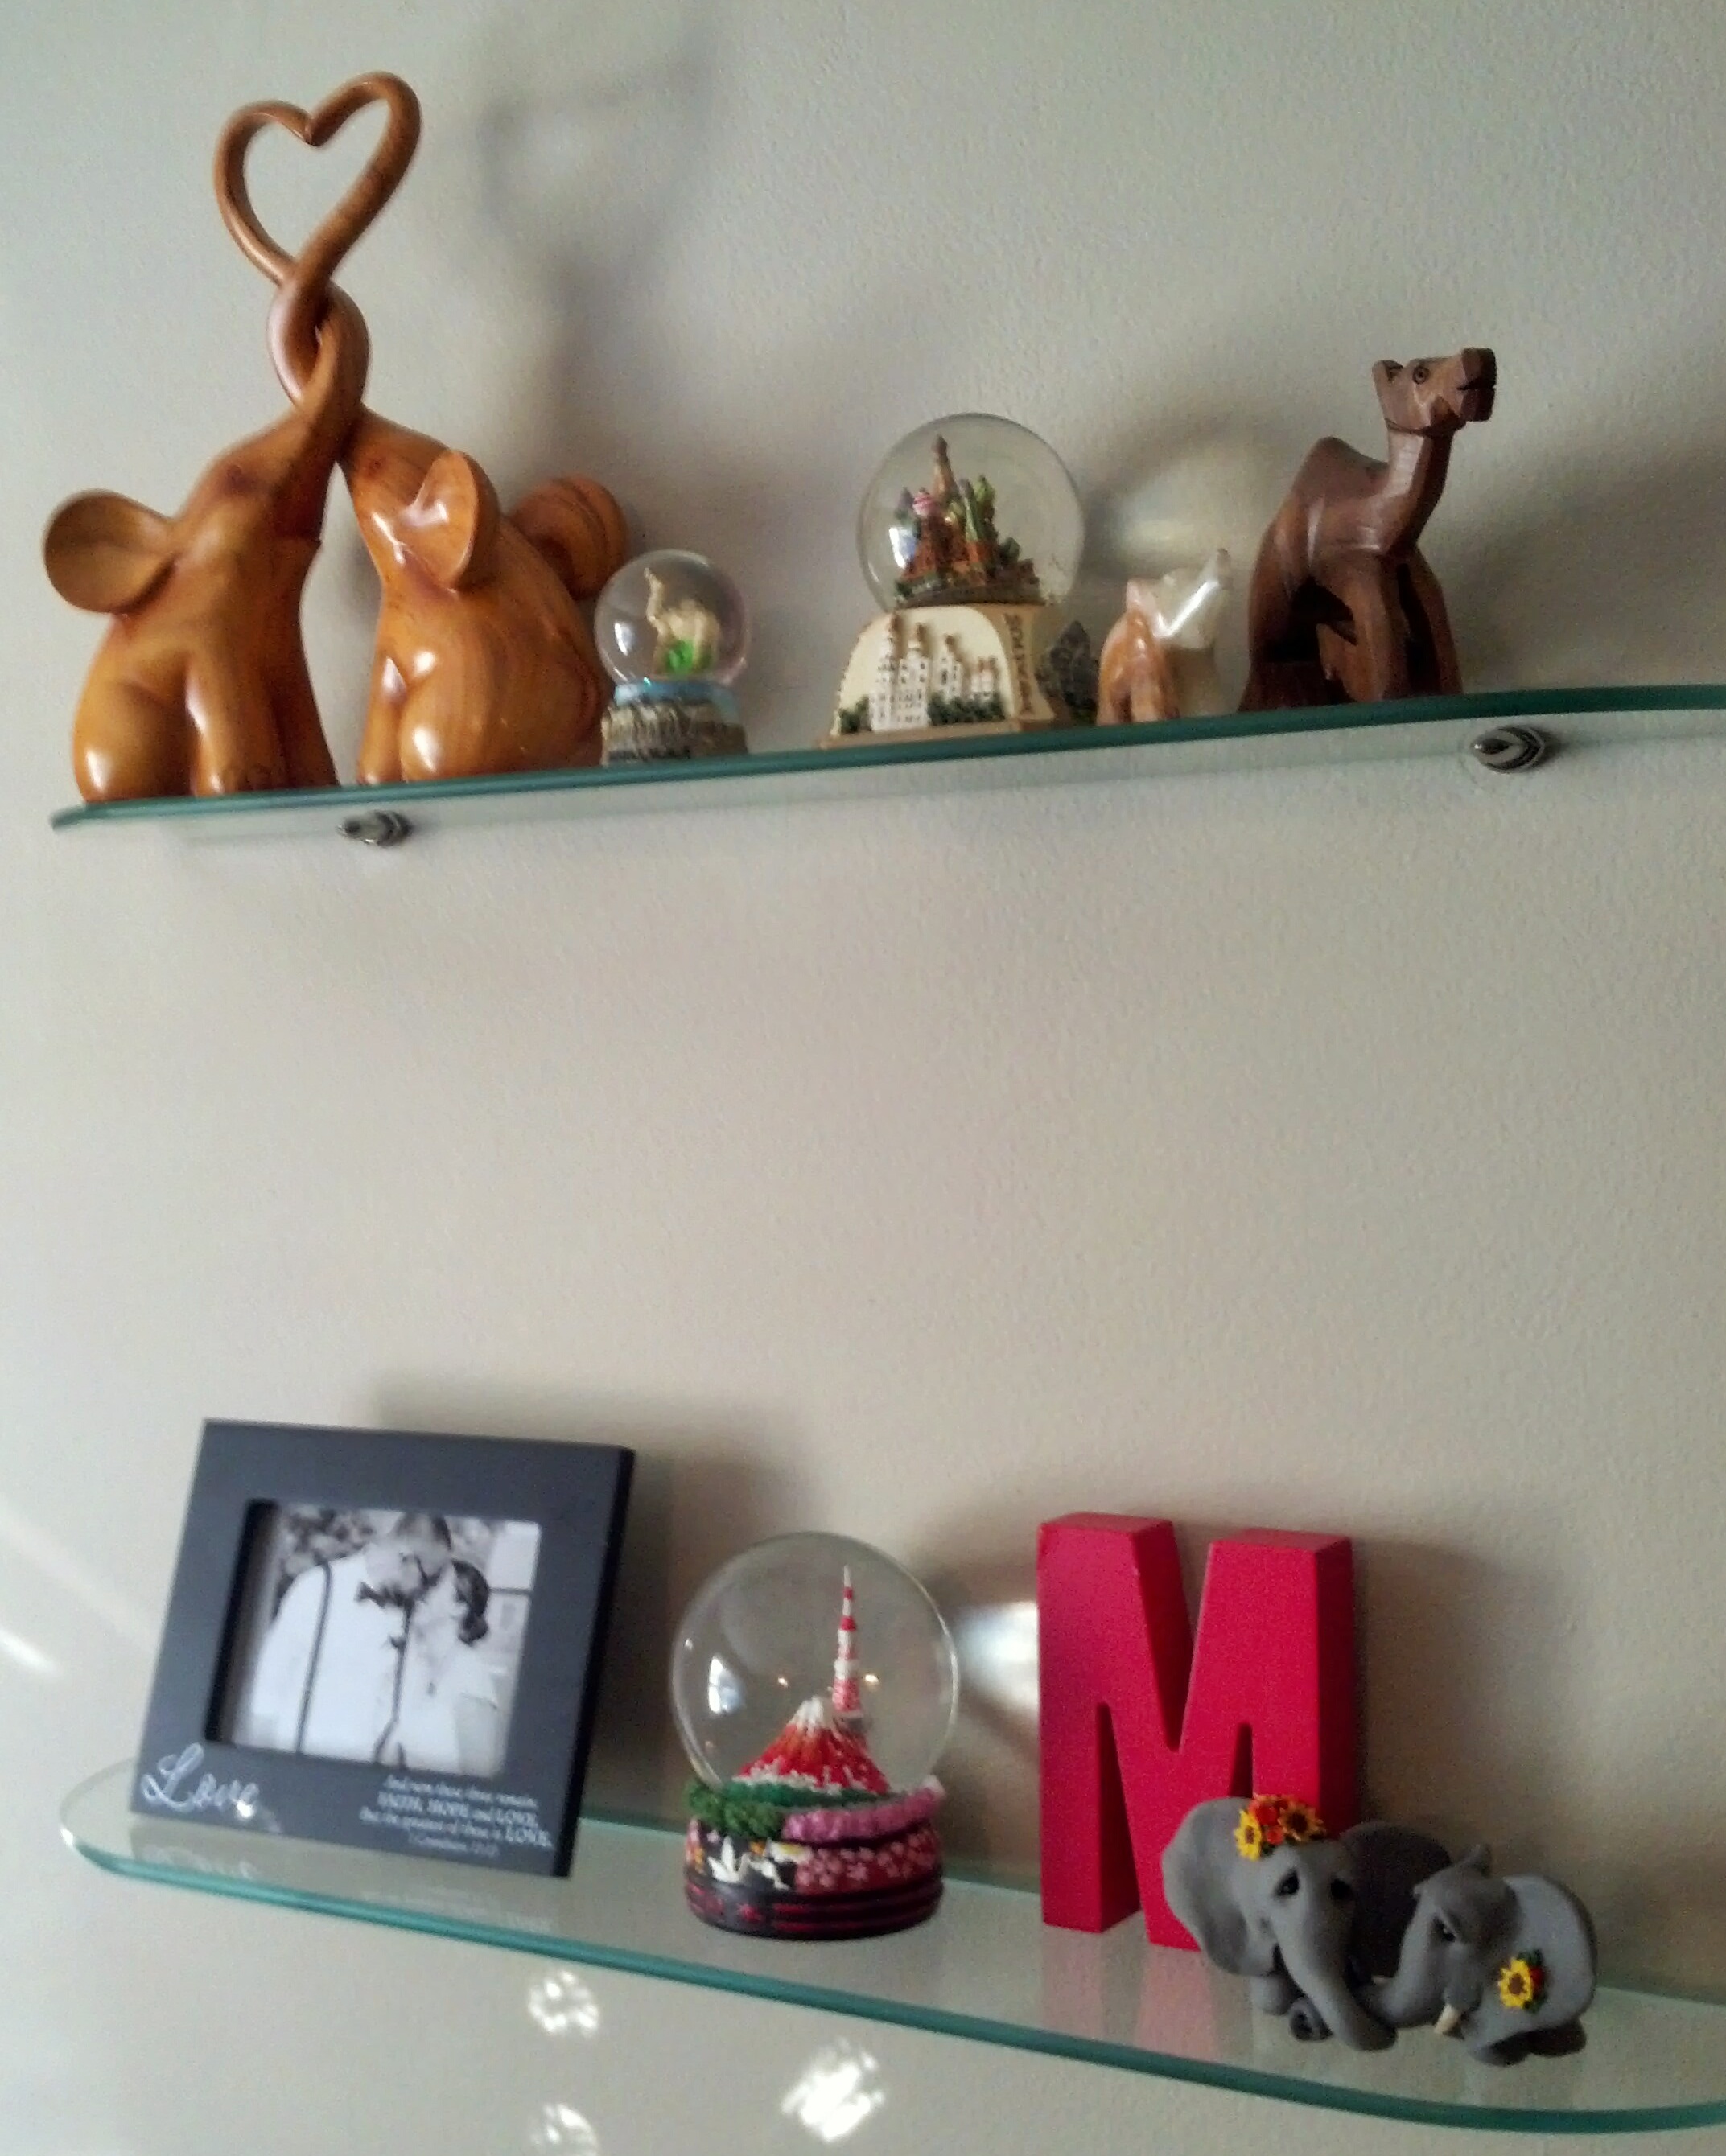
I love traveling and I miss it a lot, but I am loving my new life. These shelves show how I am bringing those two parts of my life together. The paintings on the left were done by me at a paint studio called Paint by the Glass. I’ve done a review on them before. They are so much fun. I did these all over the course of three years, perhaps, and somehow they all ended up looking very similar and matchy, so we put them up together.

I am not done, by any means. There’s a little bit of a wall between this one and the front window where I want these pictures to go:

 .
.
I feel like it’s starting to all come together and I’m very excited for it. Yay for new homes!
