I am finishing up my second week of a three-week online course for phoneography. I had never heard of phoneography before signing up, but it’s simply taking pictures with your phone. I have a fairly nice camera, but I never seem to have it in easy reach anymore. Even when I’ve got it in my purse, it’s too cumbersome to pull it out, turn it on, and set the features for the pic I want. My phone, however, is sadly always within reach. I love taking pictures, as you can see by my blog, but I feel like they’ve been missing just something.
That’s what I’ve loved about this class! I’m learning tips and guidelines for great photo-taking, not just with my phone, but especially with my phone. I’ve been learning to recognize and define what it is that I’ve always liked about certain pictures and how to prepare myself for the shot that I want.
The course is taught by Ashley at Under the Sycamore. She is fabulous and a beautiful person inside and out. I’ve been following her blog for a while now and love pretty much everything she puts out there. Not only is it great content, but the photos that accompany her entries are gorgeous! She has a whole slew of ready-models too, with their five kids and yard full of chickens. Talk about blog-envy. 🙂
So, if you are interested in an easy-peasy intro guide to good phoneography, you can sign up on her website. She also offers an online DSLR course for those with fancy shmancy cameras.
I think my favorite part of the course is the photo-sharing. This is done through Instagram. We use the hashtag #snapshopstudent and share the photos we are testing out and wanting some critique on. Not only does Ashley offer valuable advice, but the other students in the course do as well. Here are some of my photos for you (you can click on any of the images for a better look):
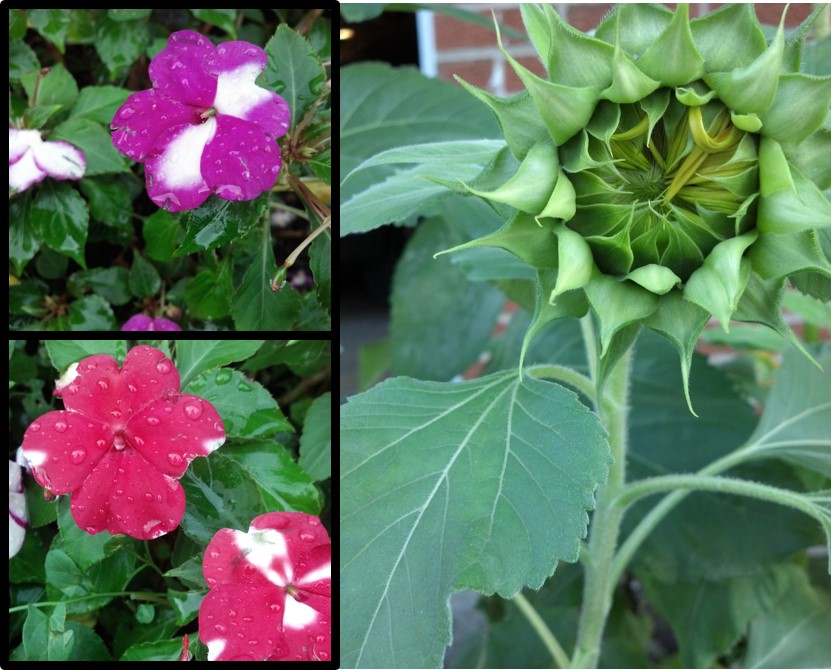
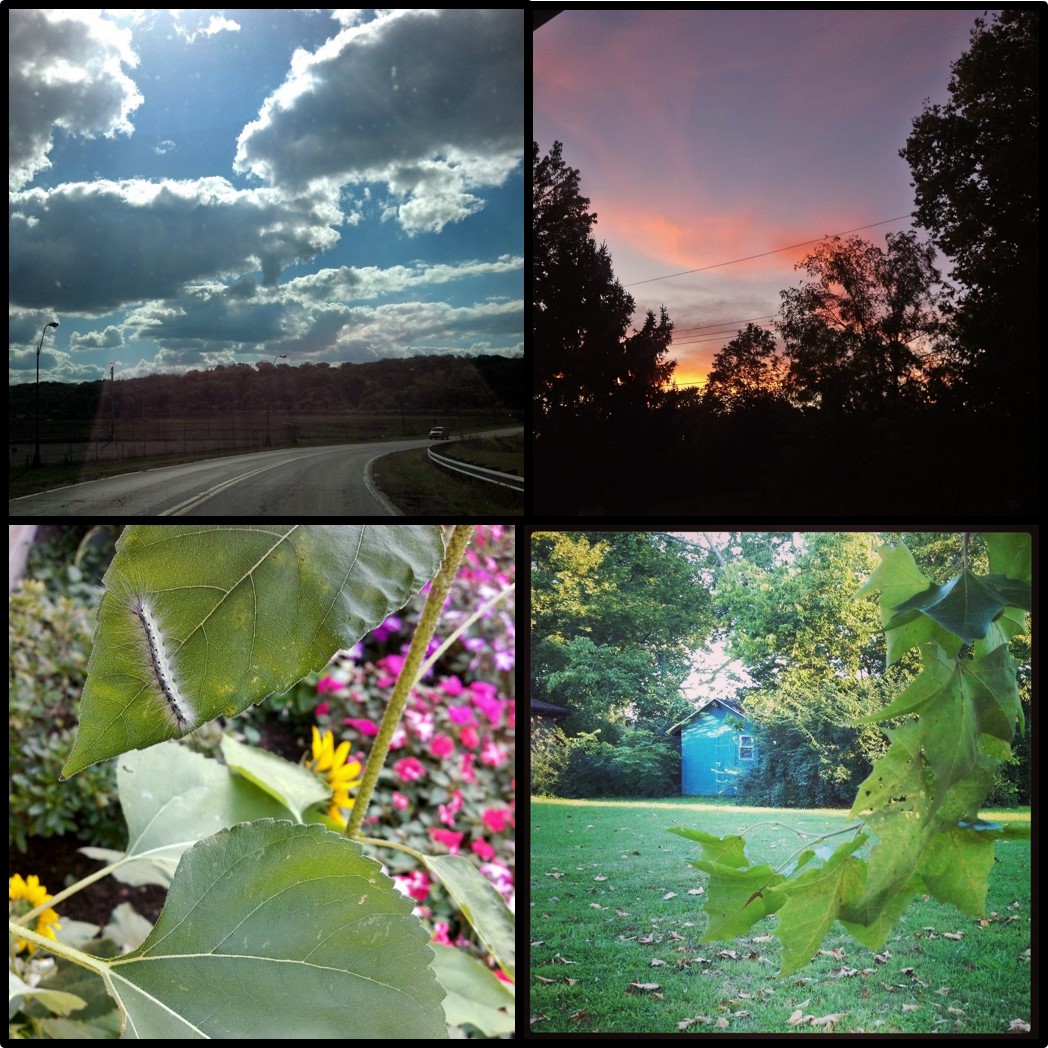
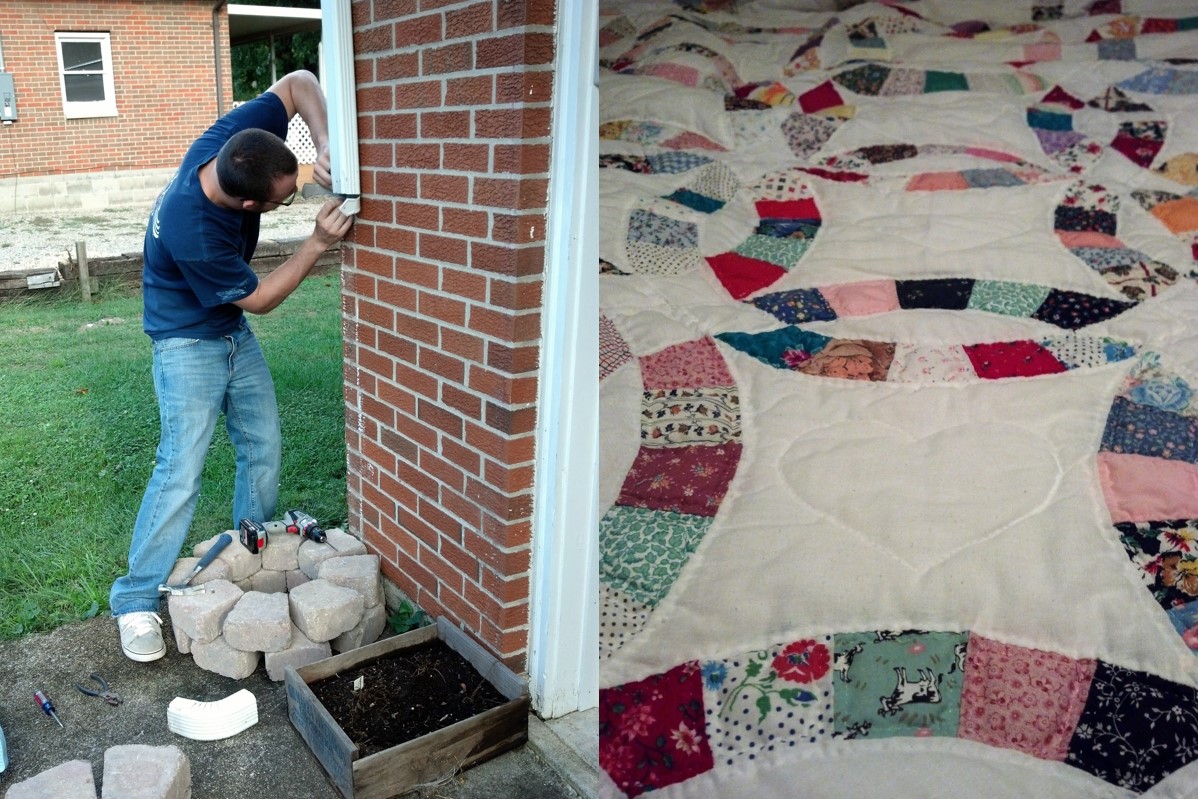
Shots around our backyard and neighbor’s yard.impatiens after the rain and a late blooming sunflowerI love my sunflowers! These are growing from the seeds we gave out at our wedding. I was very late in planting them.beautiful sky shots, caterpillar and our shedvintage sugar bowl, painted to fit in with our kitchen; windmill at a local park; niece’s soccer match.berries in the backyard and a blissful afternoon of 1 Peter and white chocolate pumpkin mocha from Cavu Cafe in West Chester.The Huz working on our rain barrel set-up and the wedding quilt his grandmother hand-stitched us.Yes, sunflowers again. 🙂around The House; rain barrel, porch rocker and pavers.
You can find me on Instagram at xapatotheworld. I look forward to seeing you there!
I had bought, a couple years ago, some photoclips handy for putting together a photo collage on the wall …or wherever…but I didn’t actually decide to use them until this week. We have a lot of empty wall space in The House, but I’ve been hesitant to put anything up until I know exactly where I want everything. It’s a catch-22, that’s for sure.
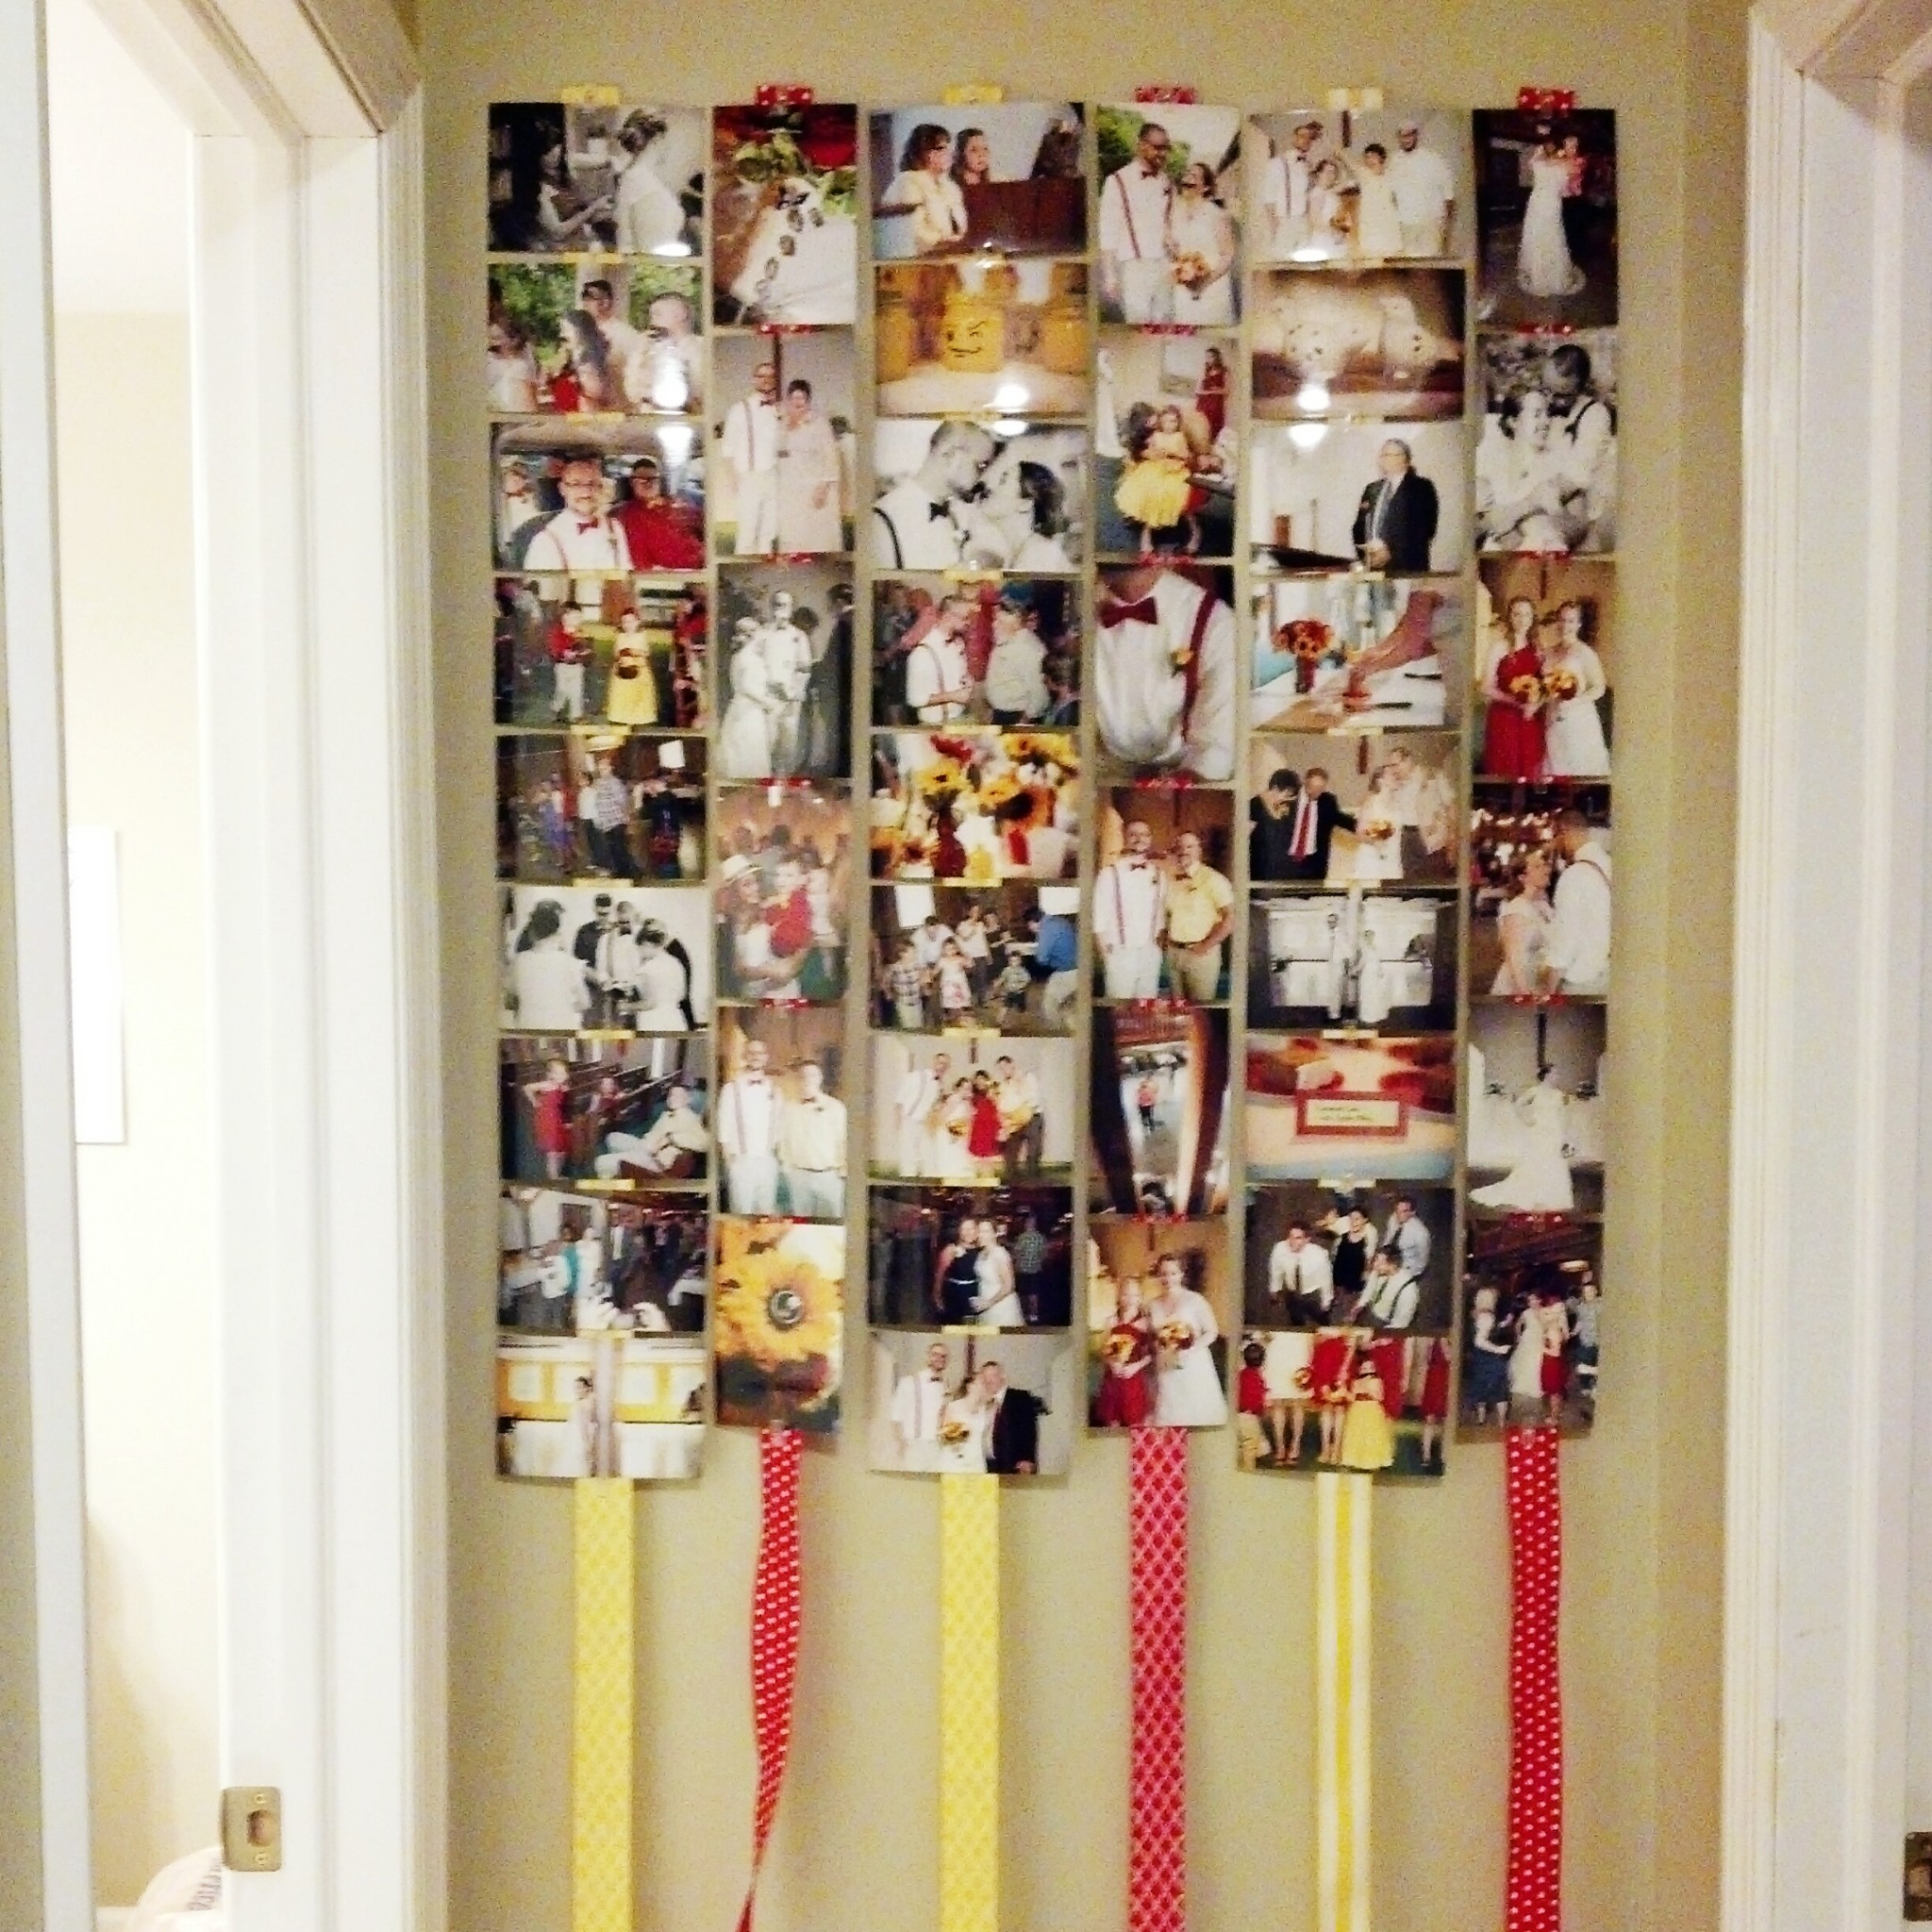
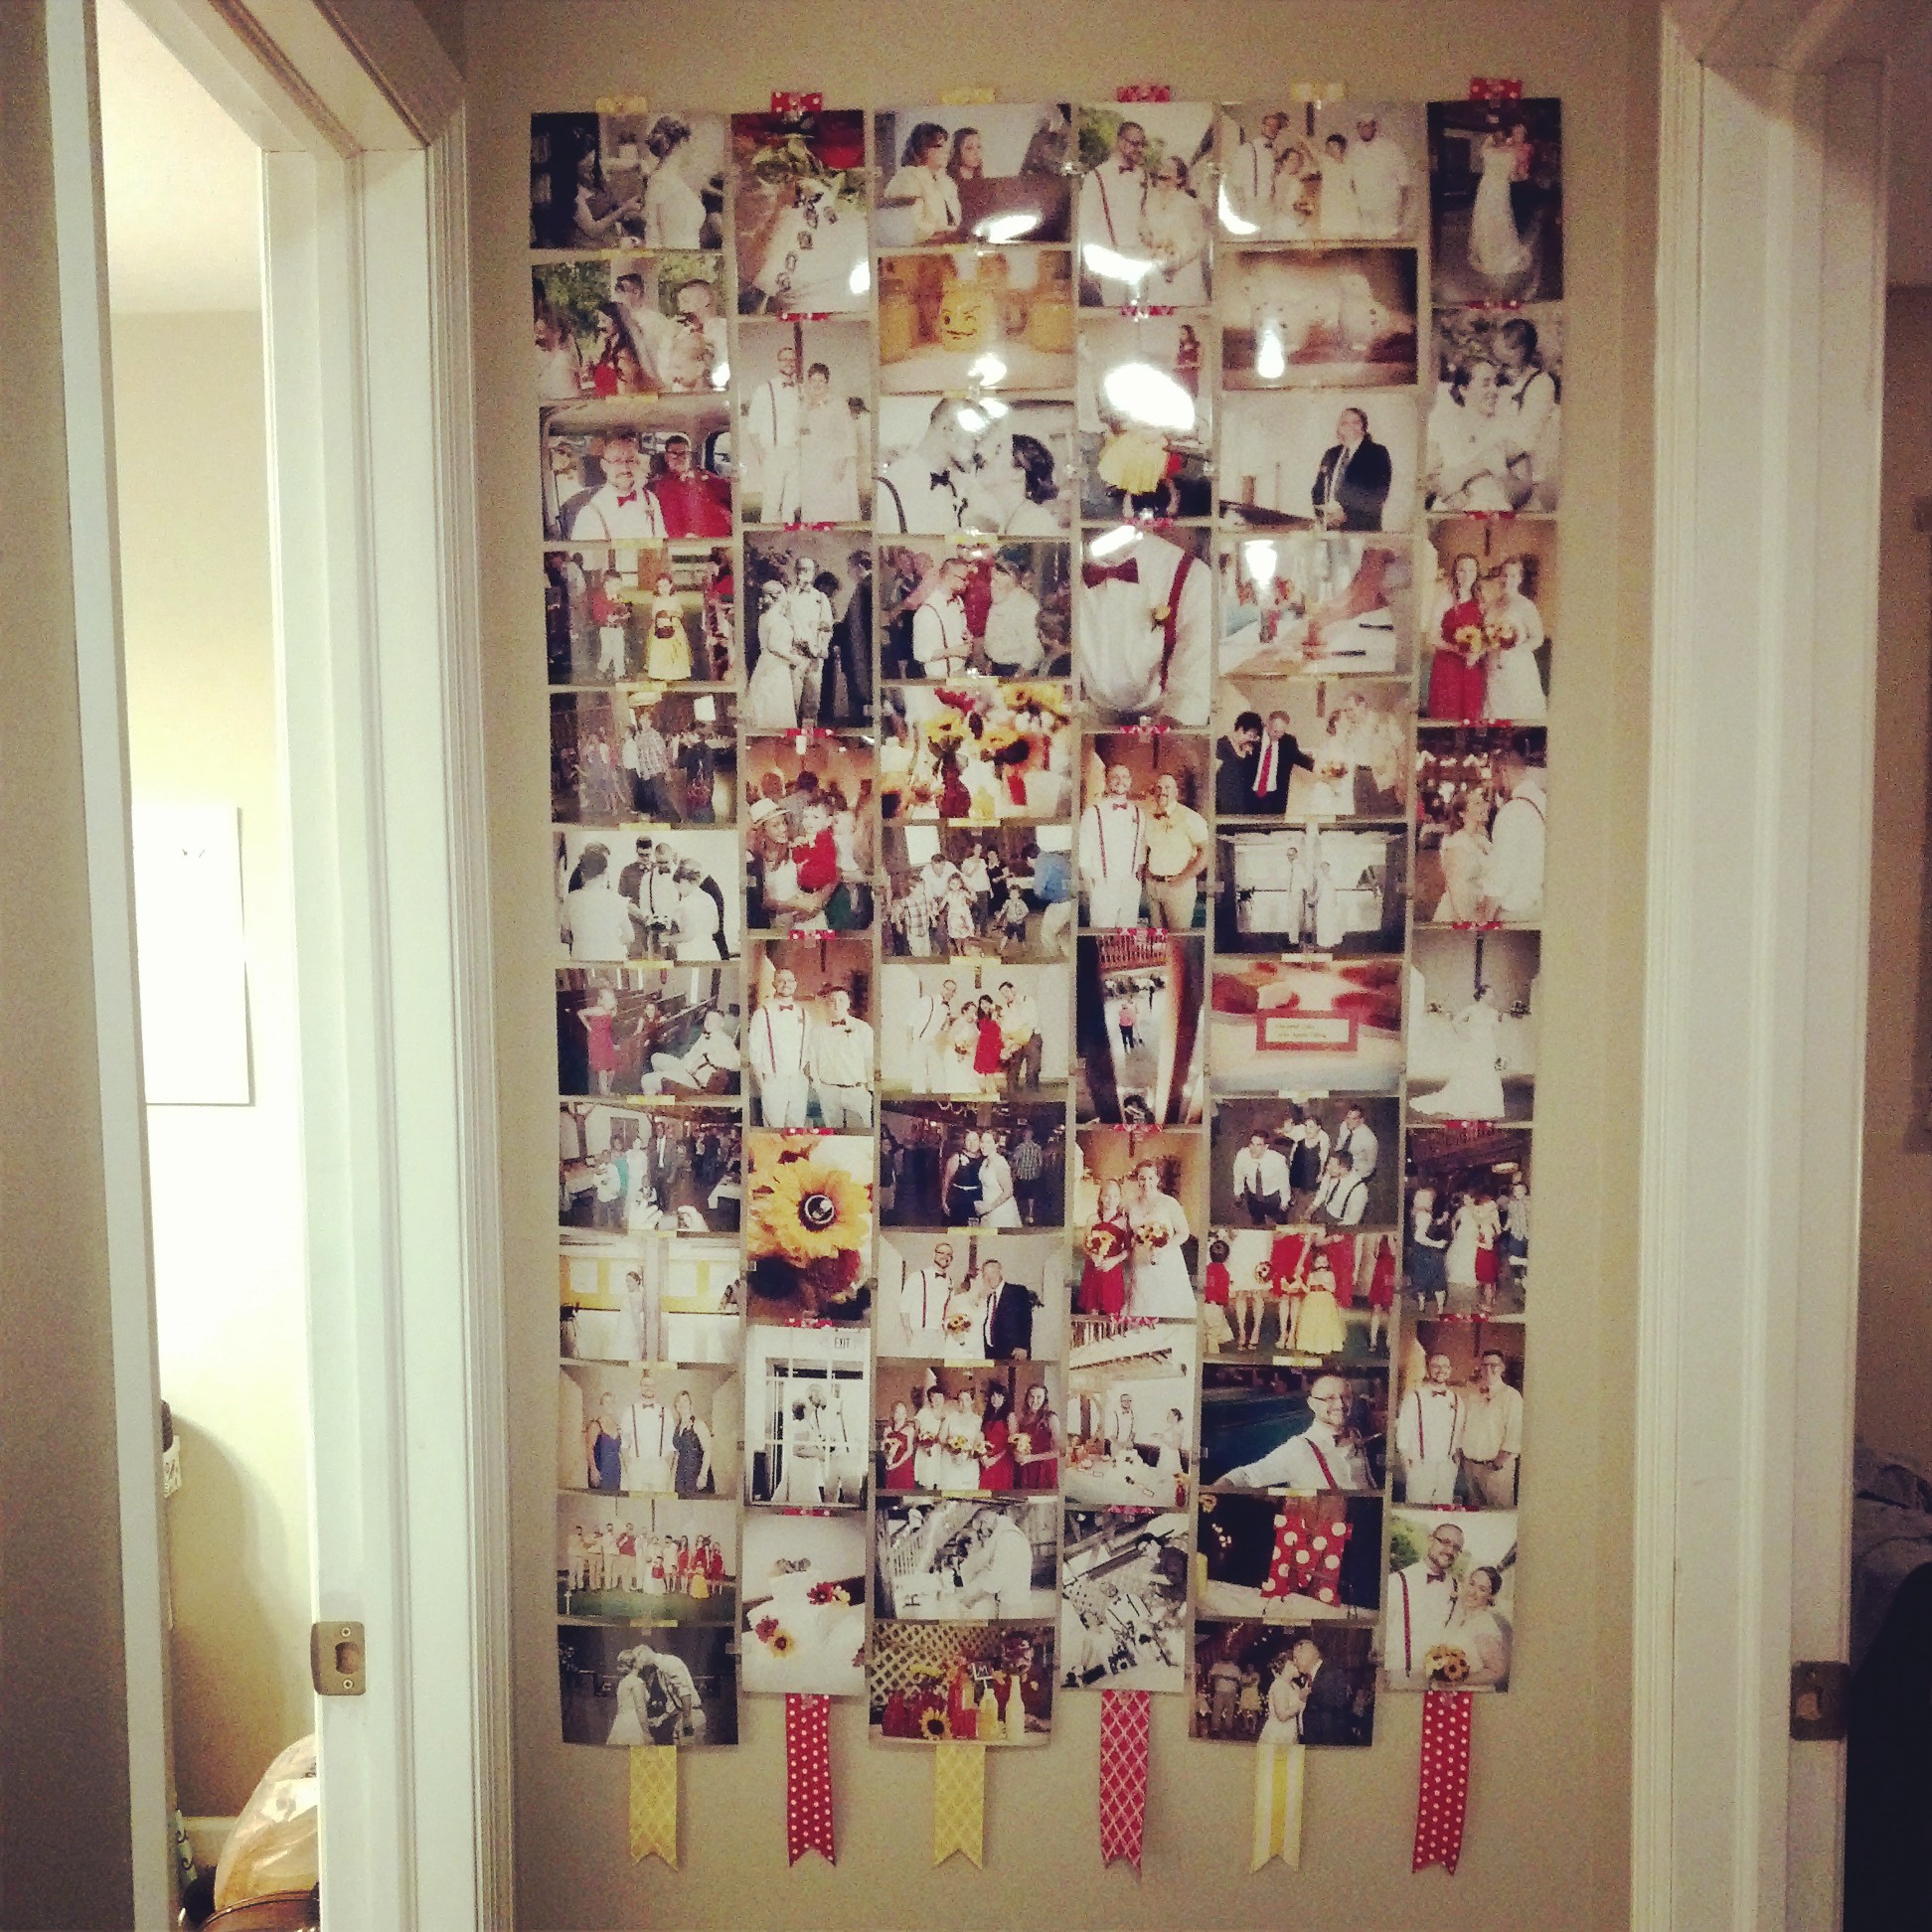
One space, though, that I did know what I want, was the wall at the end of the hallway. The space is tiny, not even 40 inches wide, but it’s tall. We only just ordered prints of all our wedding photos and I decided that I would go to town with the leftover ones that didn’t make it into the “official” photo album to show people when they visit.
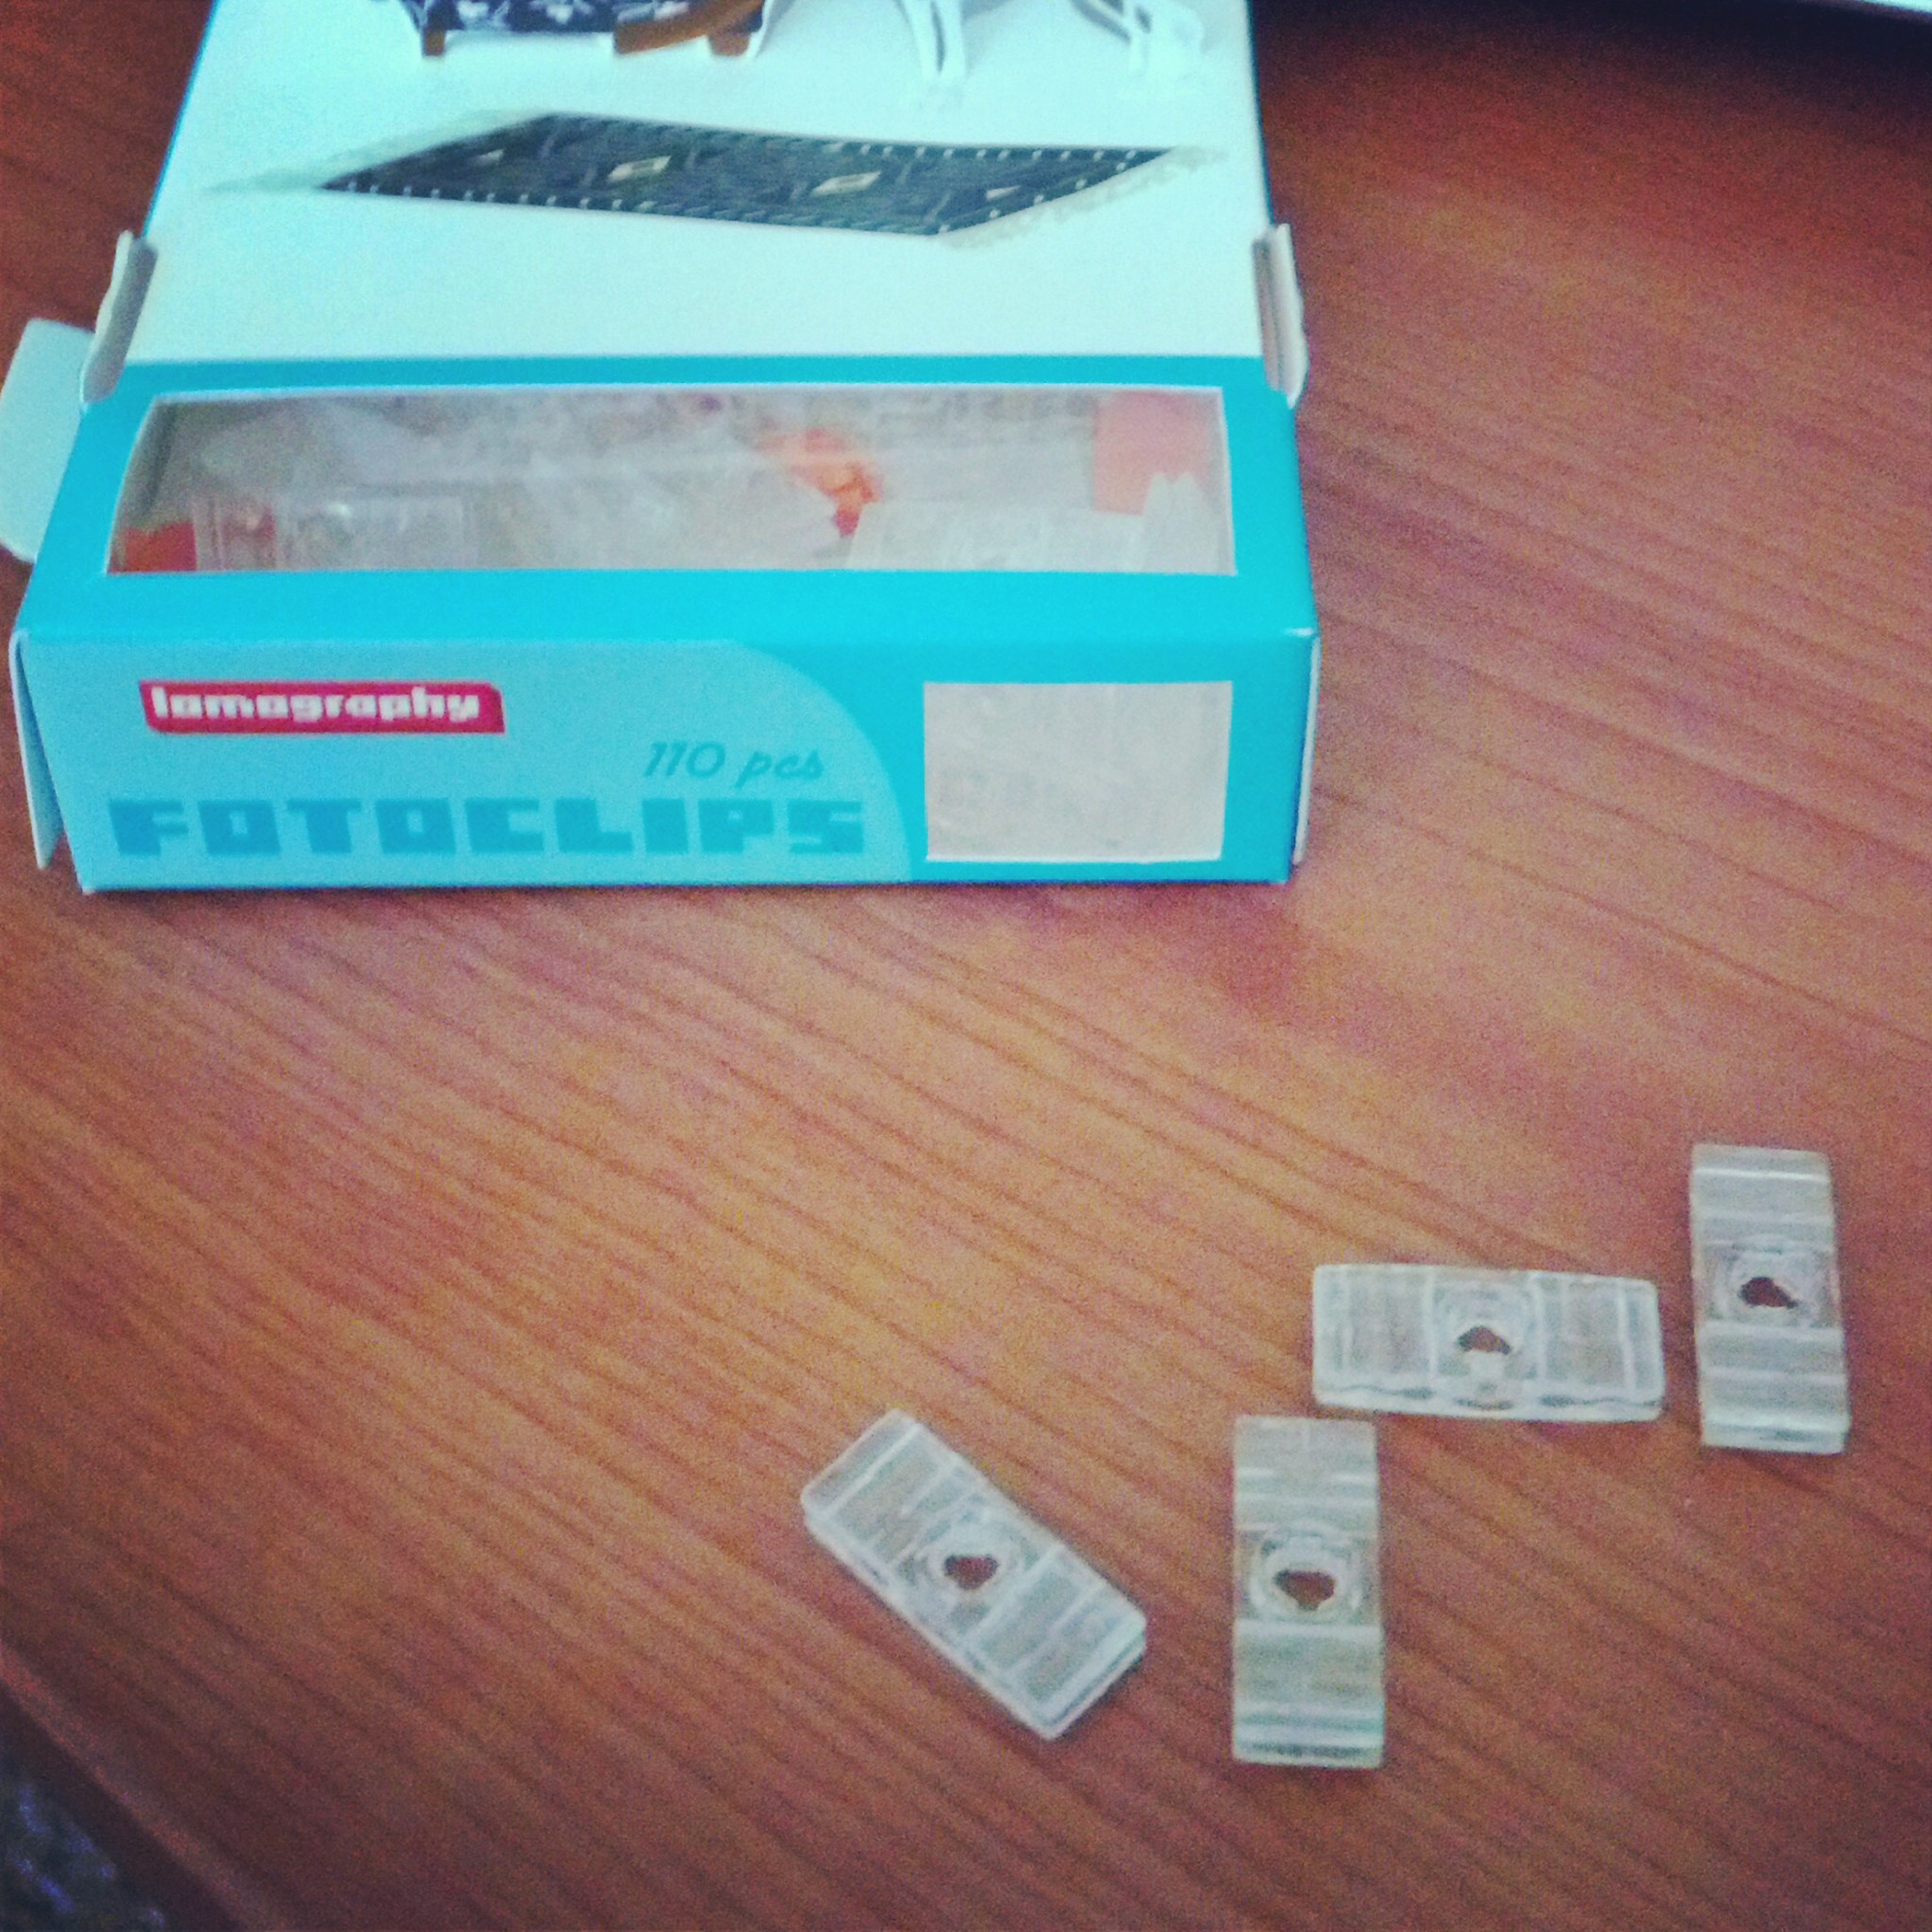
Here are the deets on the photo clips:
I used Lomography Fotoclips. They are everything that I love about an item: functional, unique, creative, adaptable, and a crazy mix of nations (Japanese, Russian, and Austrian [the Japanese might be just an inference on my part, but they feel soooo very Japanese]). I was first tipped off to them by one of the many photography folks I follow on Facebook/Instagram/etc. They put together a mural on their own wall and I loved the concept, so I bought some. They have a hole in the center for a nail for the wall, if you choose to hang up the collage that way,with two wedge openings on opposite sides that grip and connect the adjacent photos.
They grip the photos really well that I wasn’t sure I needed to anchor any clips other than the top ones, but I decided to go ahead and use some ribbon to accent and to hold them all together. Um, I’m not sure how much better I’ll be at describing these things, so you should probably just go to the link above if you’re interested. I will show how I used them below, though.
So, I began by arranging some of the pictures out on the floor. Then, I realized that I should probably measure the wall space before I arranged any more. I did, and then continued to arrange more photos. It was fun. Matt just watched and then I had to leave and then he had to go to work. Here’s the mess I left on the floor.
I like the alternating columns of horizontal and vertical, but it proved difficult when I decided to hang them. I wanted the whole collage to be centered on the wall, but then the divide between the left three columns and the right three columns was not the center of the photos. There was much more measuring, and mathing, and leveling, until I finally got the columns where I wanted them. I drove a nail through one of end of the ribbon and then began to add the photos. I decided that I would use the ribbon as the anchor and every second or third clip, I stitched the ribbon through the hole of the clip to keep it from sliding down or getting too heavy.
I left the ribbons hanging until I decided just how long I wanted the collage to hang. At this point, the columns are hanging by themselves, stitched to their ribbons, but not connected to each other. The clips work great vertically as well as horizontally, and with the extra support of the ribbons, I didn’t have to clip each and every photo to the others. Once it got to a manageable height, I cut the ends of the ribbons and began connecting the columns to each other. They were a tinge off kilter, but I was able to press them down in spots and get them to hang freely close to the wall.
I love the colors and that all the photos are such fun shots. We had a blast at our wedding and I wanted the collage to reflect that and remind us every day as we leave and enter our bedroom that we were made to encourage and live joyful lives. A joyful marriage is something that is so tangible and easily felt by others, and joy is contagious. I think that’s why it’s my favorite Fruit of the Spirit.
By the way, today, Matt and I arranged some stuff for the primary wall in the living room. I’m really pleased with how it turned out.
Don’t mind the obnoxious sun glare…or the blurriness of the following photos. Evidently my photo editing abilities went on vacation today.
I got an idea to turn a basket onto the wall and hang some photos inside it. The basket is a little deeper than I probably would prefer, but I still like how it looks.
I strung some twine through the basket and the attached some Lomo Fotoclips to the horizontal lines. Then, I clipped three photos that show off our whole family: My mom and sisters on the top, Matt’s side in the middle, and my dad and fam on the bottom (with the mustaches…of course). I did add a sunflower for an accent because it just wouldn’t be something of mine without a sunflower.
The map was a gift from my mom when I got home from Japan. I love it. There are pins to tack where I’ve been, where I want to go, and where I’m going next. I don’t have anything in the “next” part, but I have pins all over the map. The plate label says, “XAPA to the world” which is the Greek work for “joy.” It’s pronounced “chara”, by the way, like car-uh.
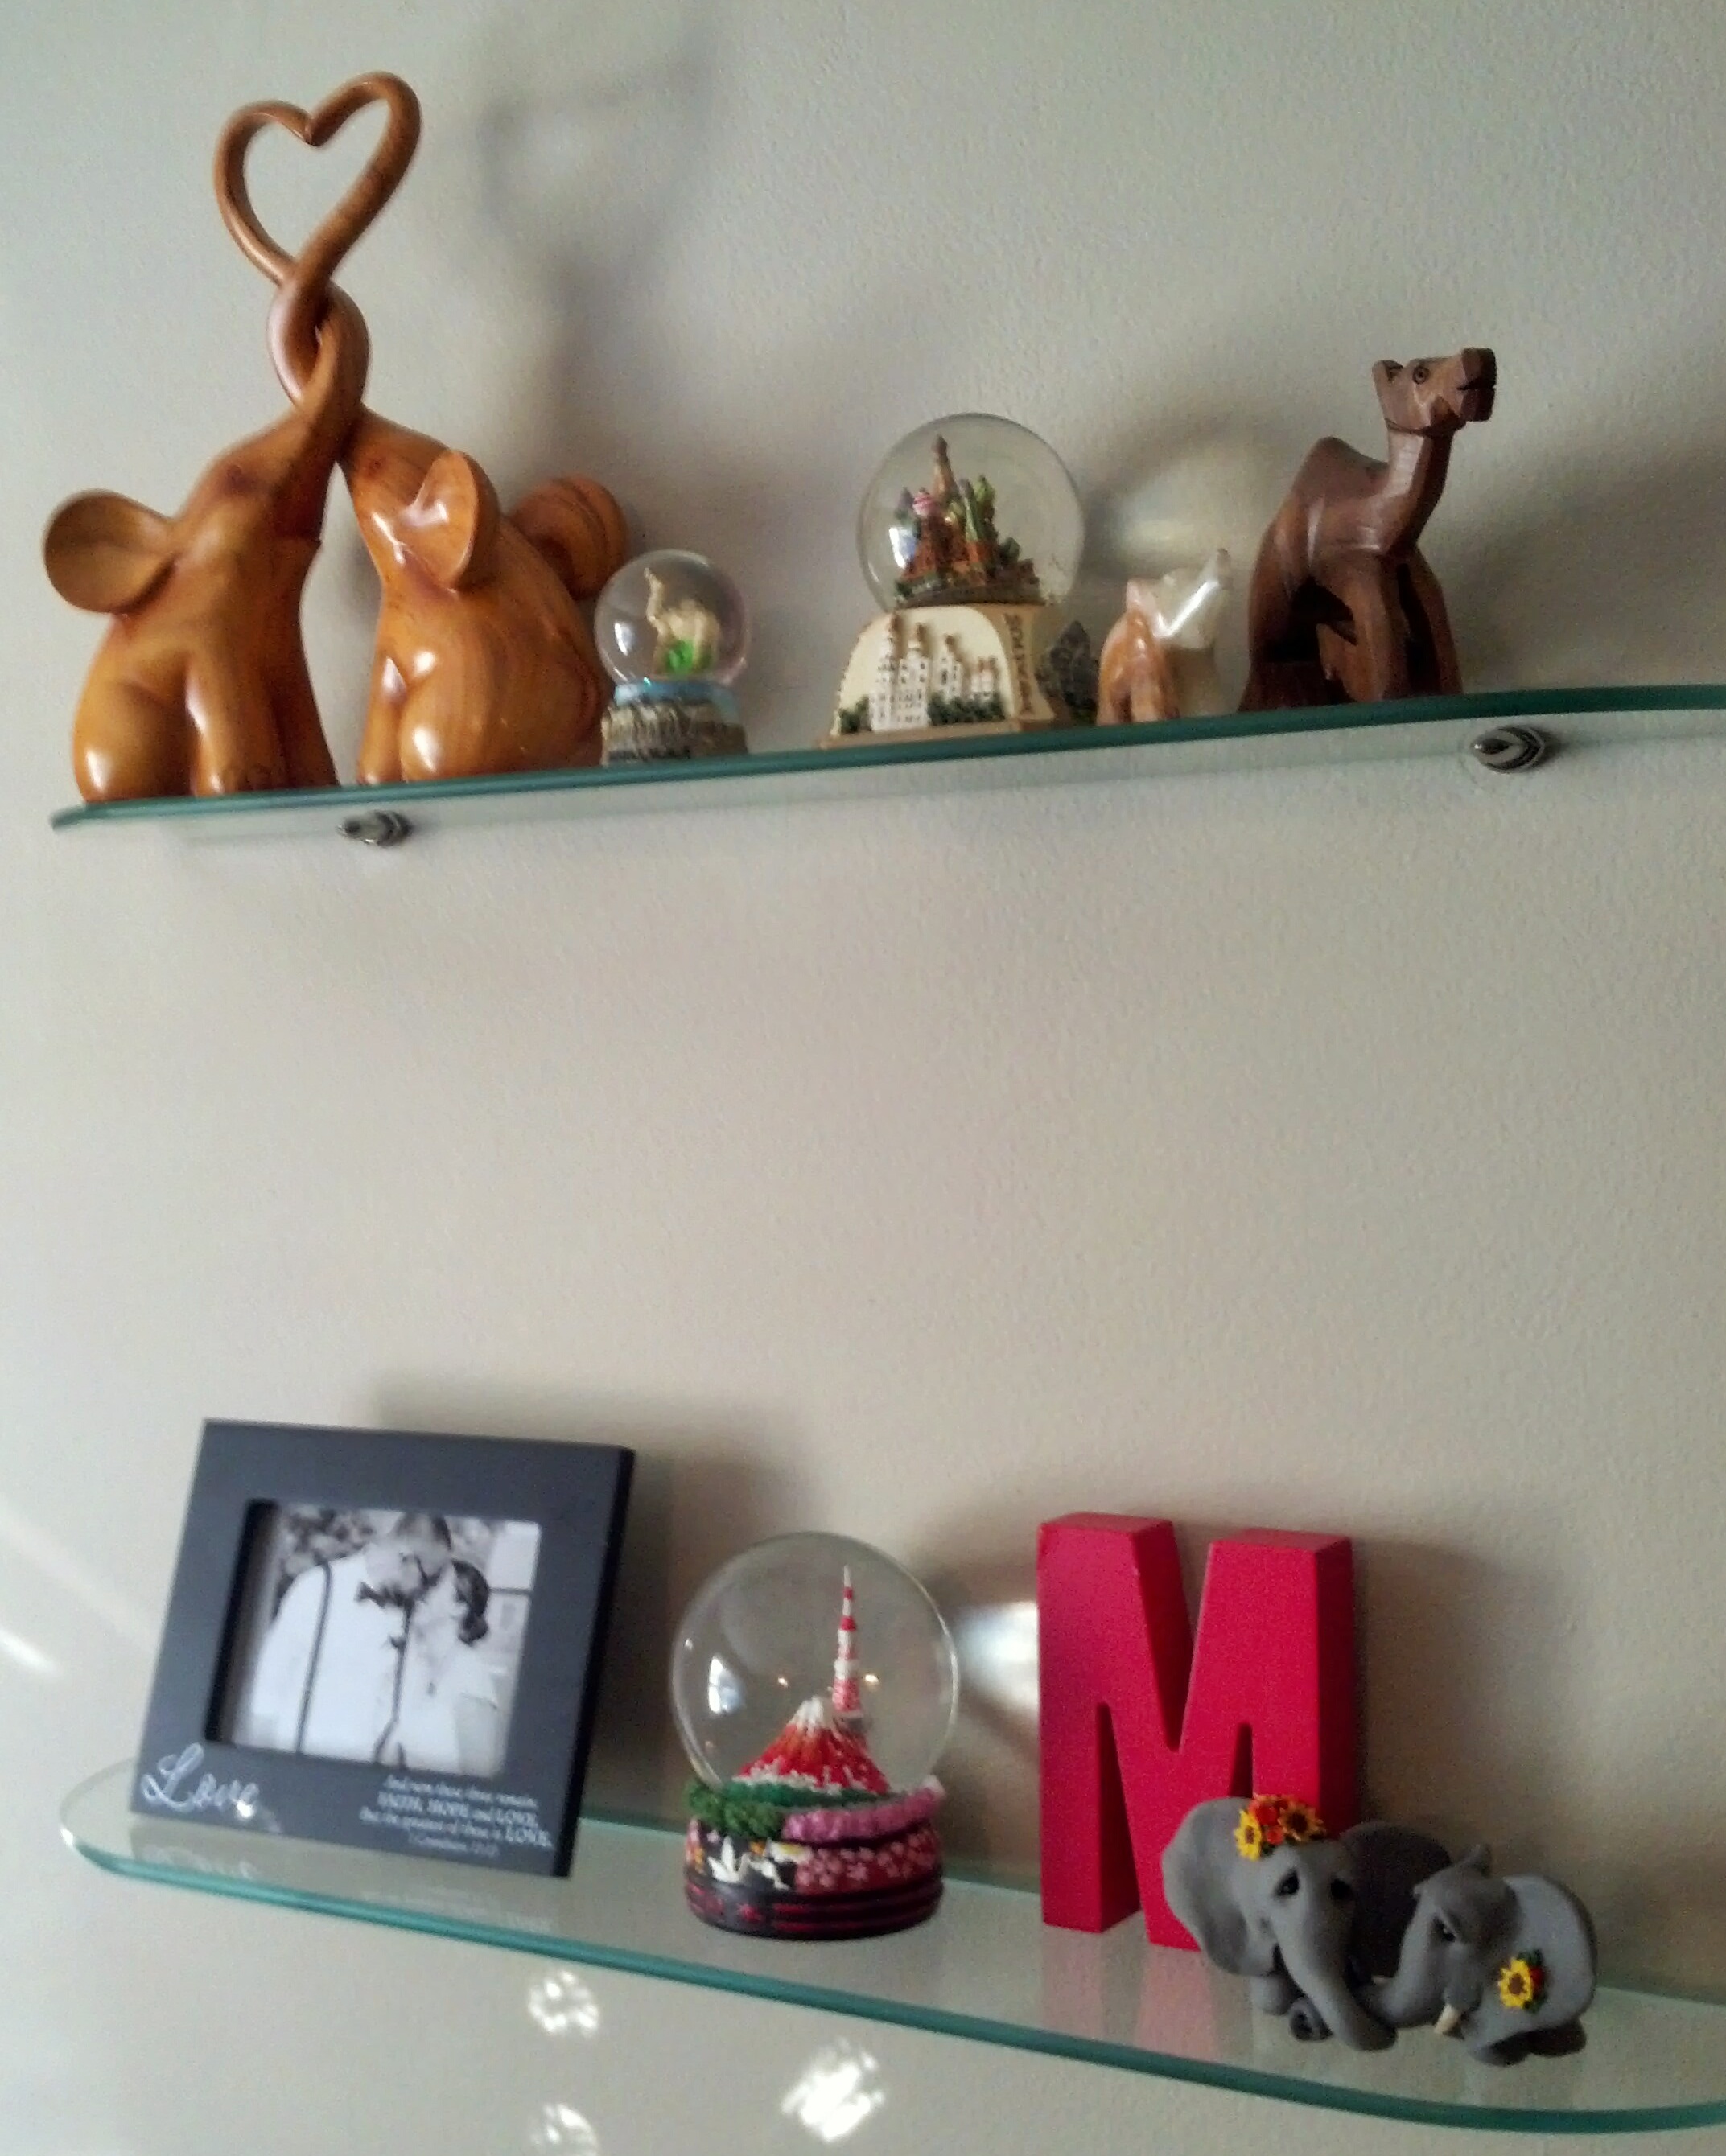
The shelves are from Ikea, but the knickknacks are from all over. Let’s see, elephants with heart were from my dad and step-mom. I bought the small snow-globe from the airport in Dubai, the next one was from the airport in Moscow, and then an alabaster elephant from Cairo, and I believe the camel came from Israel. On the second shelf is a frame from my aunt, a snowglobe from Tokyo, a big letter M from Michael’s, and the elephants from on top of our wedding cake.
I love traveling and I miss it a lot, but I am loving my new life. These shelves show how I am bringing those two parts of my life together. The paintings on the left were done by me at a paint studio called Paint by the Glass. I’ve done a review on them before. They are so much fun. I did these all over the course of three years, perhaps, and somehow they all ended up looking very similar and matchy, so we put them up together.
I am not done, by any means. There’s a little bit of a wall between this one and the front window where I want these pictures to go:
.
I feel like it’s starting to all come together and I’m very excited for it. Yay for new homes!
I promised that I would put up reviews of the vendors I used for the smaller details of the wedding. I’m going to start with the ceremony first and then move on to the reception. First, I would like to say that most of these photos were taken by Sadie Hodge of Sadie and Jess Weddings. I did a pre-review for her here and you can find their Facebook page here.I’m going to include things that I bought as well as things that I made and was inspired by something on Pinterest, online, etc. I will try my best to site the resources for you. And here we go!
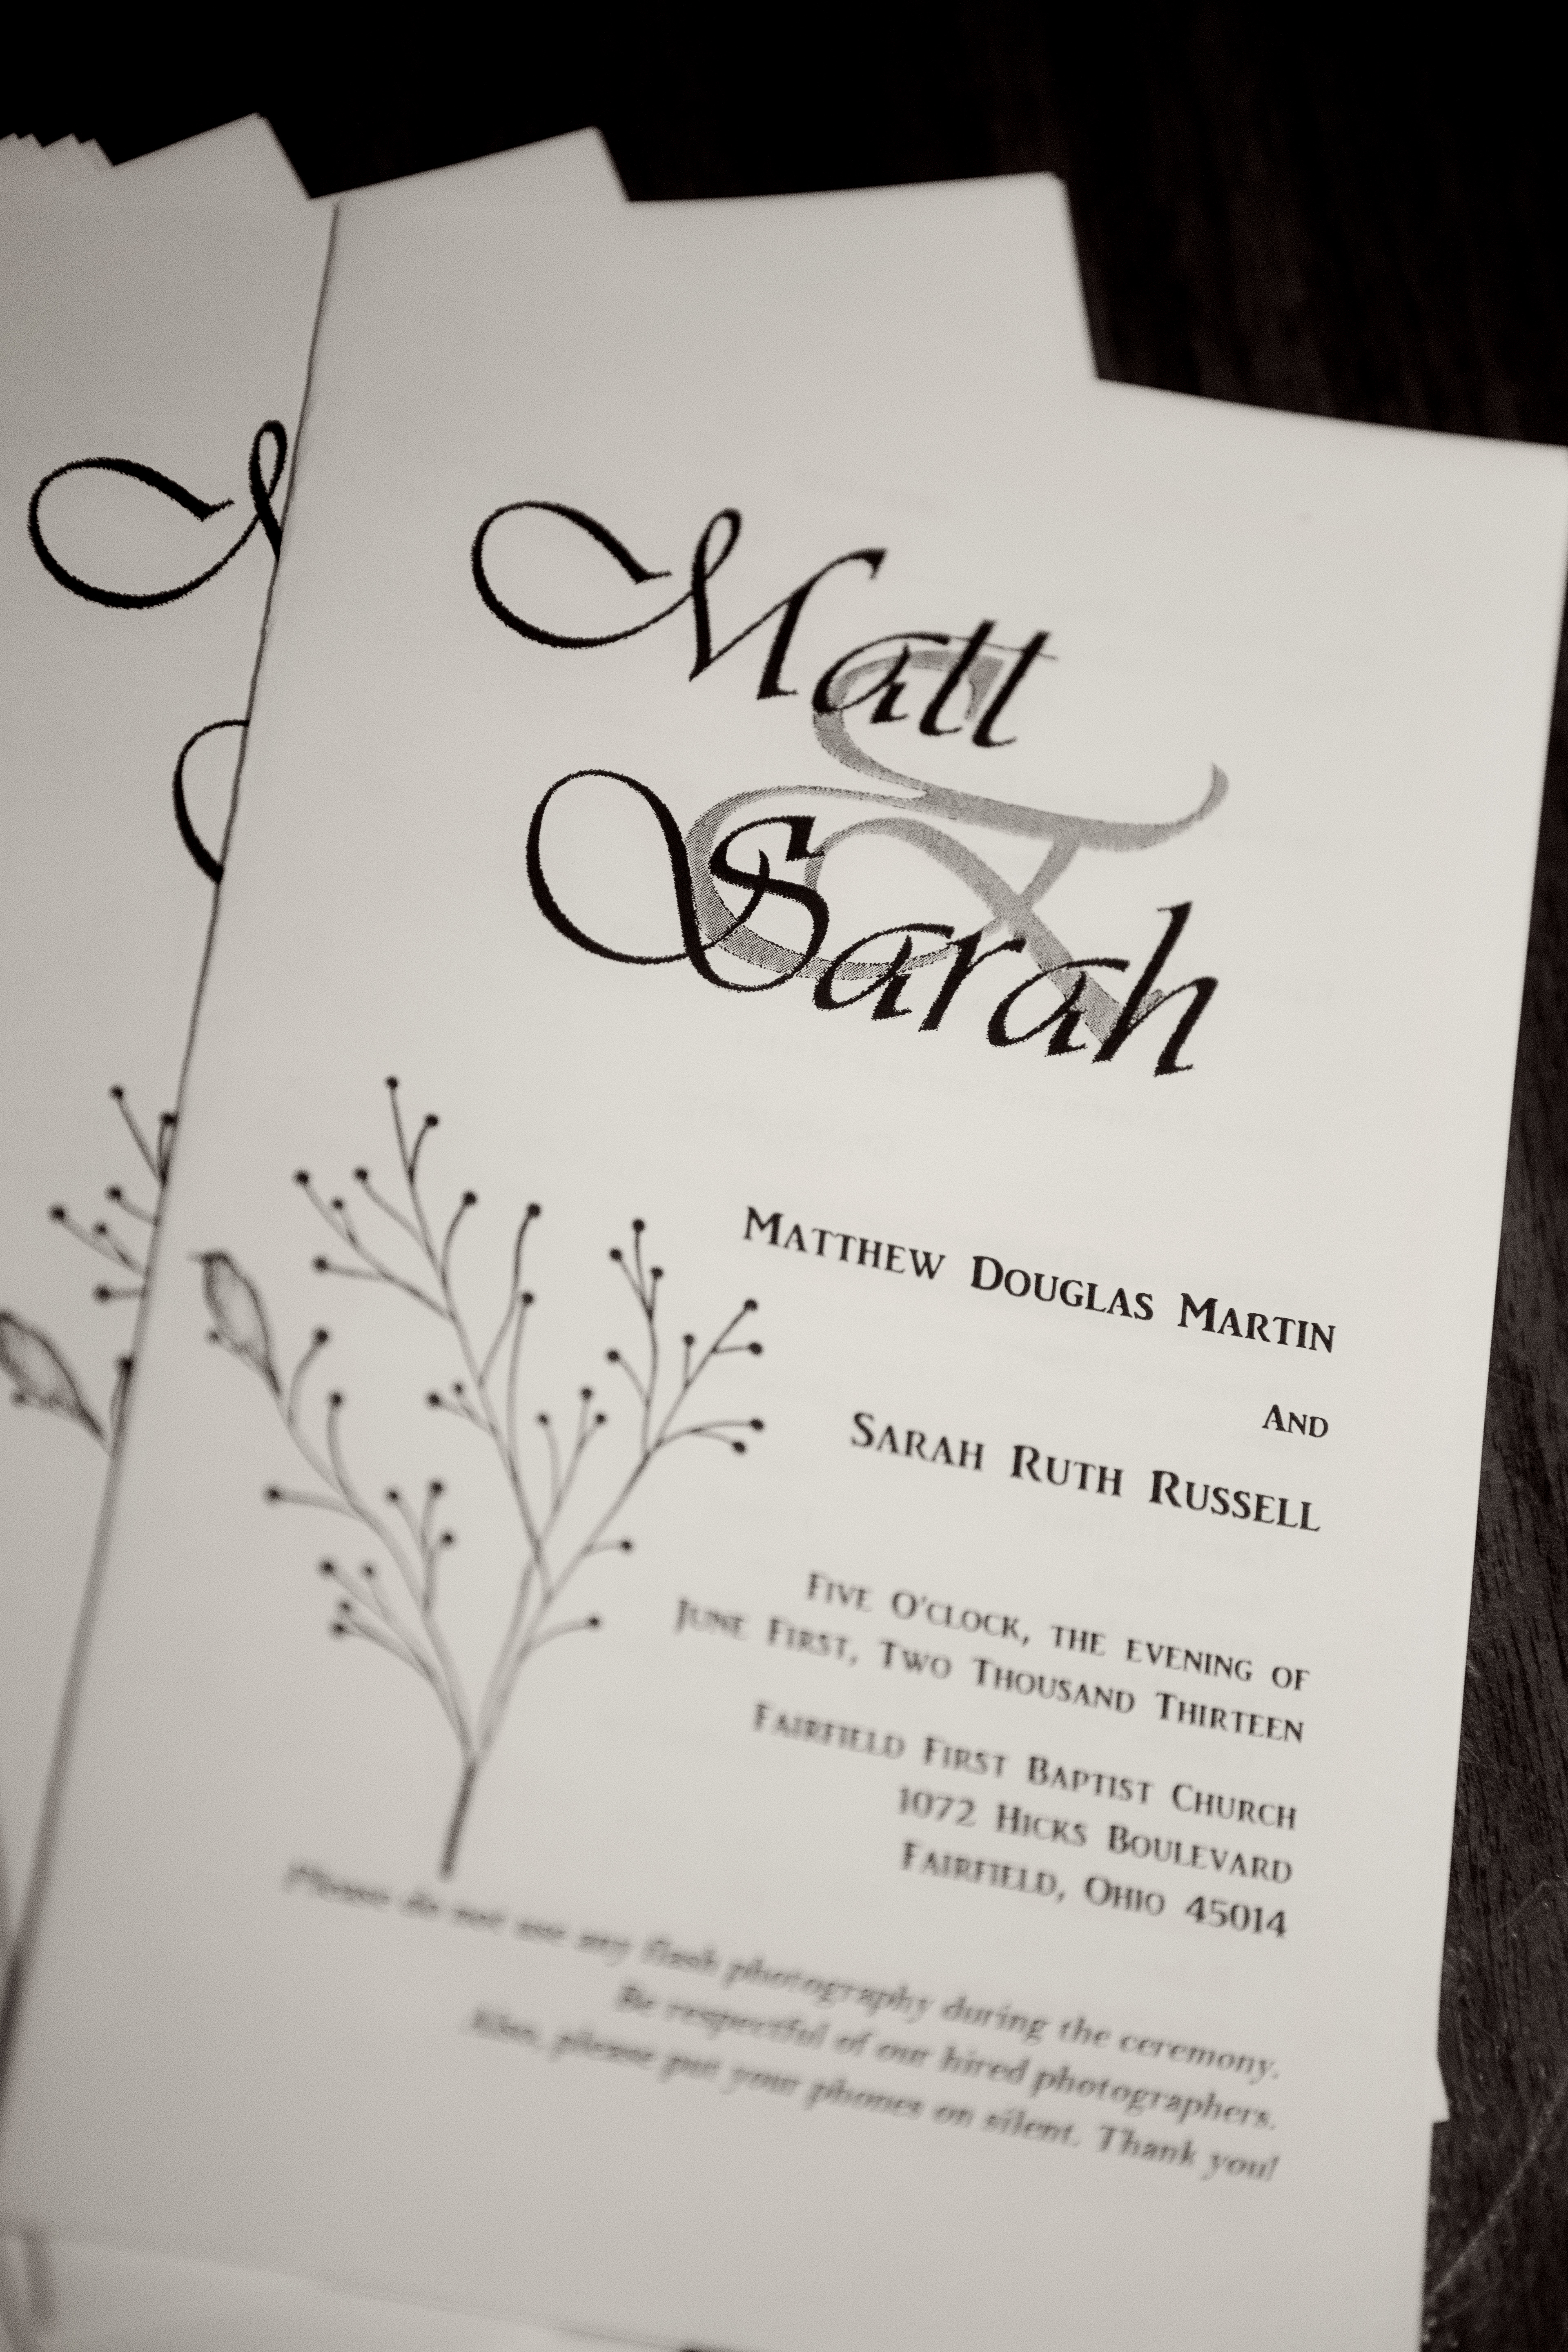
Program
I went simple with the programs. We printed them out ourselves and I designed the whole layout. The top image is something I designed and made into a stamp that we used on our invitations. (Post 1, Post 2 and Post 3) The bird in a tree stamp came from Hobby Lobby. I only stamped one program and then made copies of it. Yes, it was the easy way out, but I was still putting these together the week before the wedding, so I was loving “Easy.”
At the bottom, there is some text that I think was very helpful. It says, “Please do not use any flash photography during the ceremony. Be respectful of our hired photographers. Also, please put your phones on silent. Thank you!” We commissioned everyone at the rehearsal to mention it to guests. I had originally planned to have some sort of verbiage like this, but that was only strengthened after reading this.
The order of participants we chose was: Officiants, Parents of the Bride, Step-Mother of the Bride, Parents of the Groom, Grandparents, Bridesmaids, and Groomsmen. We listed our grandparents together with their spouses and any that had passed away, we put an asterisks after their name and a note “(* in loving memory).”
We worked out the order of the ceremony with my pastor and included instructions for communion. We (Matt and I) love communion and since we are coming from two different churches, not to mention the many churches represented by other friends and family, communion is a great way to draw unity with a diverse group of people. Different churches have different traditions in the act of communion, so we had to make sure everyone was on the same page. It worked out wonderfully!
We also invited the guests to sing along with our singers while people were walking down the aisle. The back page of the program shared the lyrics of the primary songs so people could join in. It was a lot of fun to walk down the aisle to people singing along one of my favorite songs, “For the Beauty of the Earth.” Ever since I heard it at Meg’s wedding in Little Women, I have wanted it in my wedding. We also had “Greatest Commands” which is a great acappella song that Matt’s church sings, “Blessed Assurance,” and “Blest Be the Tie That Binds.”
Rings and Bibles
Matt and I have great love for our families. We both have lost two grandparents each, one from each side in the last 4 years. We wanted to include those who couldn’t be there as much as possible. We know they’re in heaven, and would’ve been so glad to be here for our wedding, but God decided to take them on home. What you see here is my Pappy Cook’s Bible and Matt’s Grandpa Charles’ Bible. It was inspired by this pin. My grandma decided to give Pappy’s Bible to my nephew, Jason, who was a junior groomsman in the wedding. It has his notes and everything and I heard that Jason just loves it. Pappy is touching our lives and discipling us even after he has left earth. What a testimony that man has.
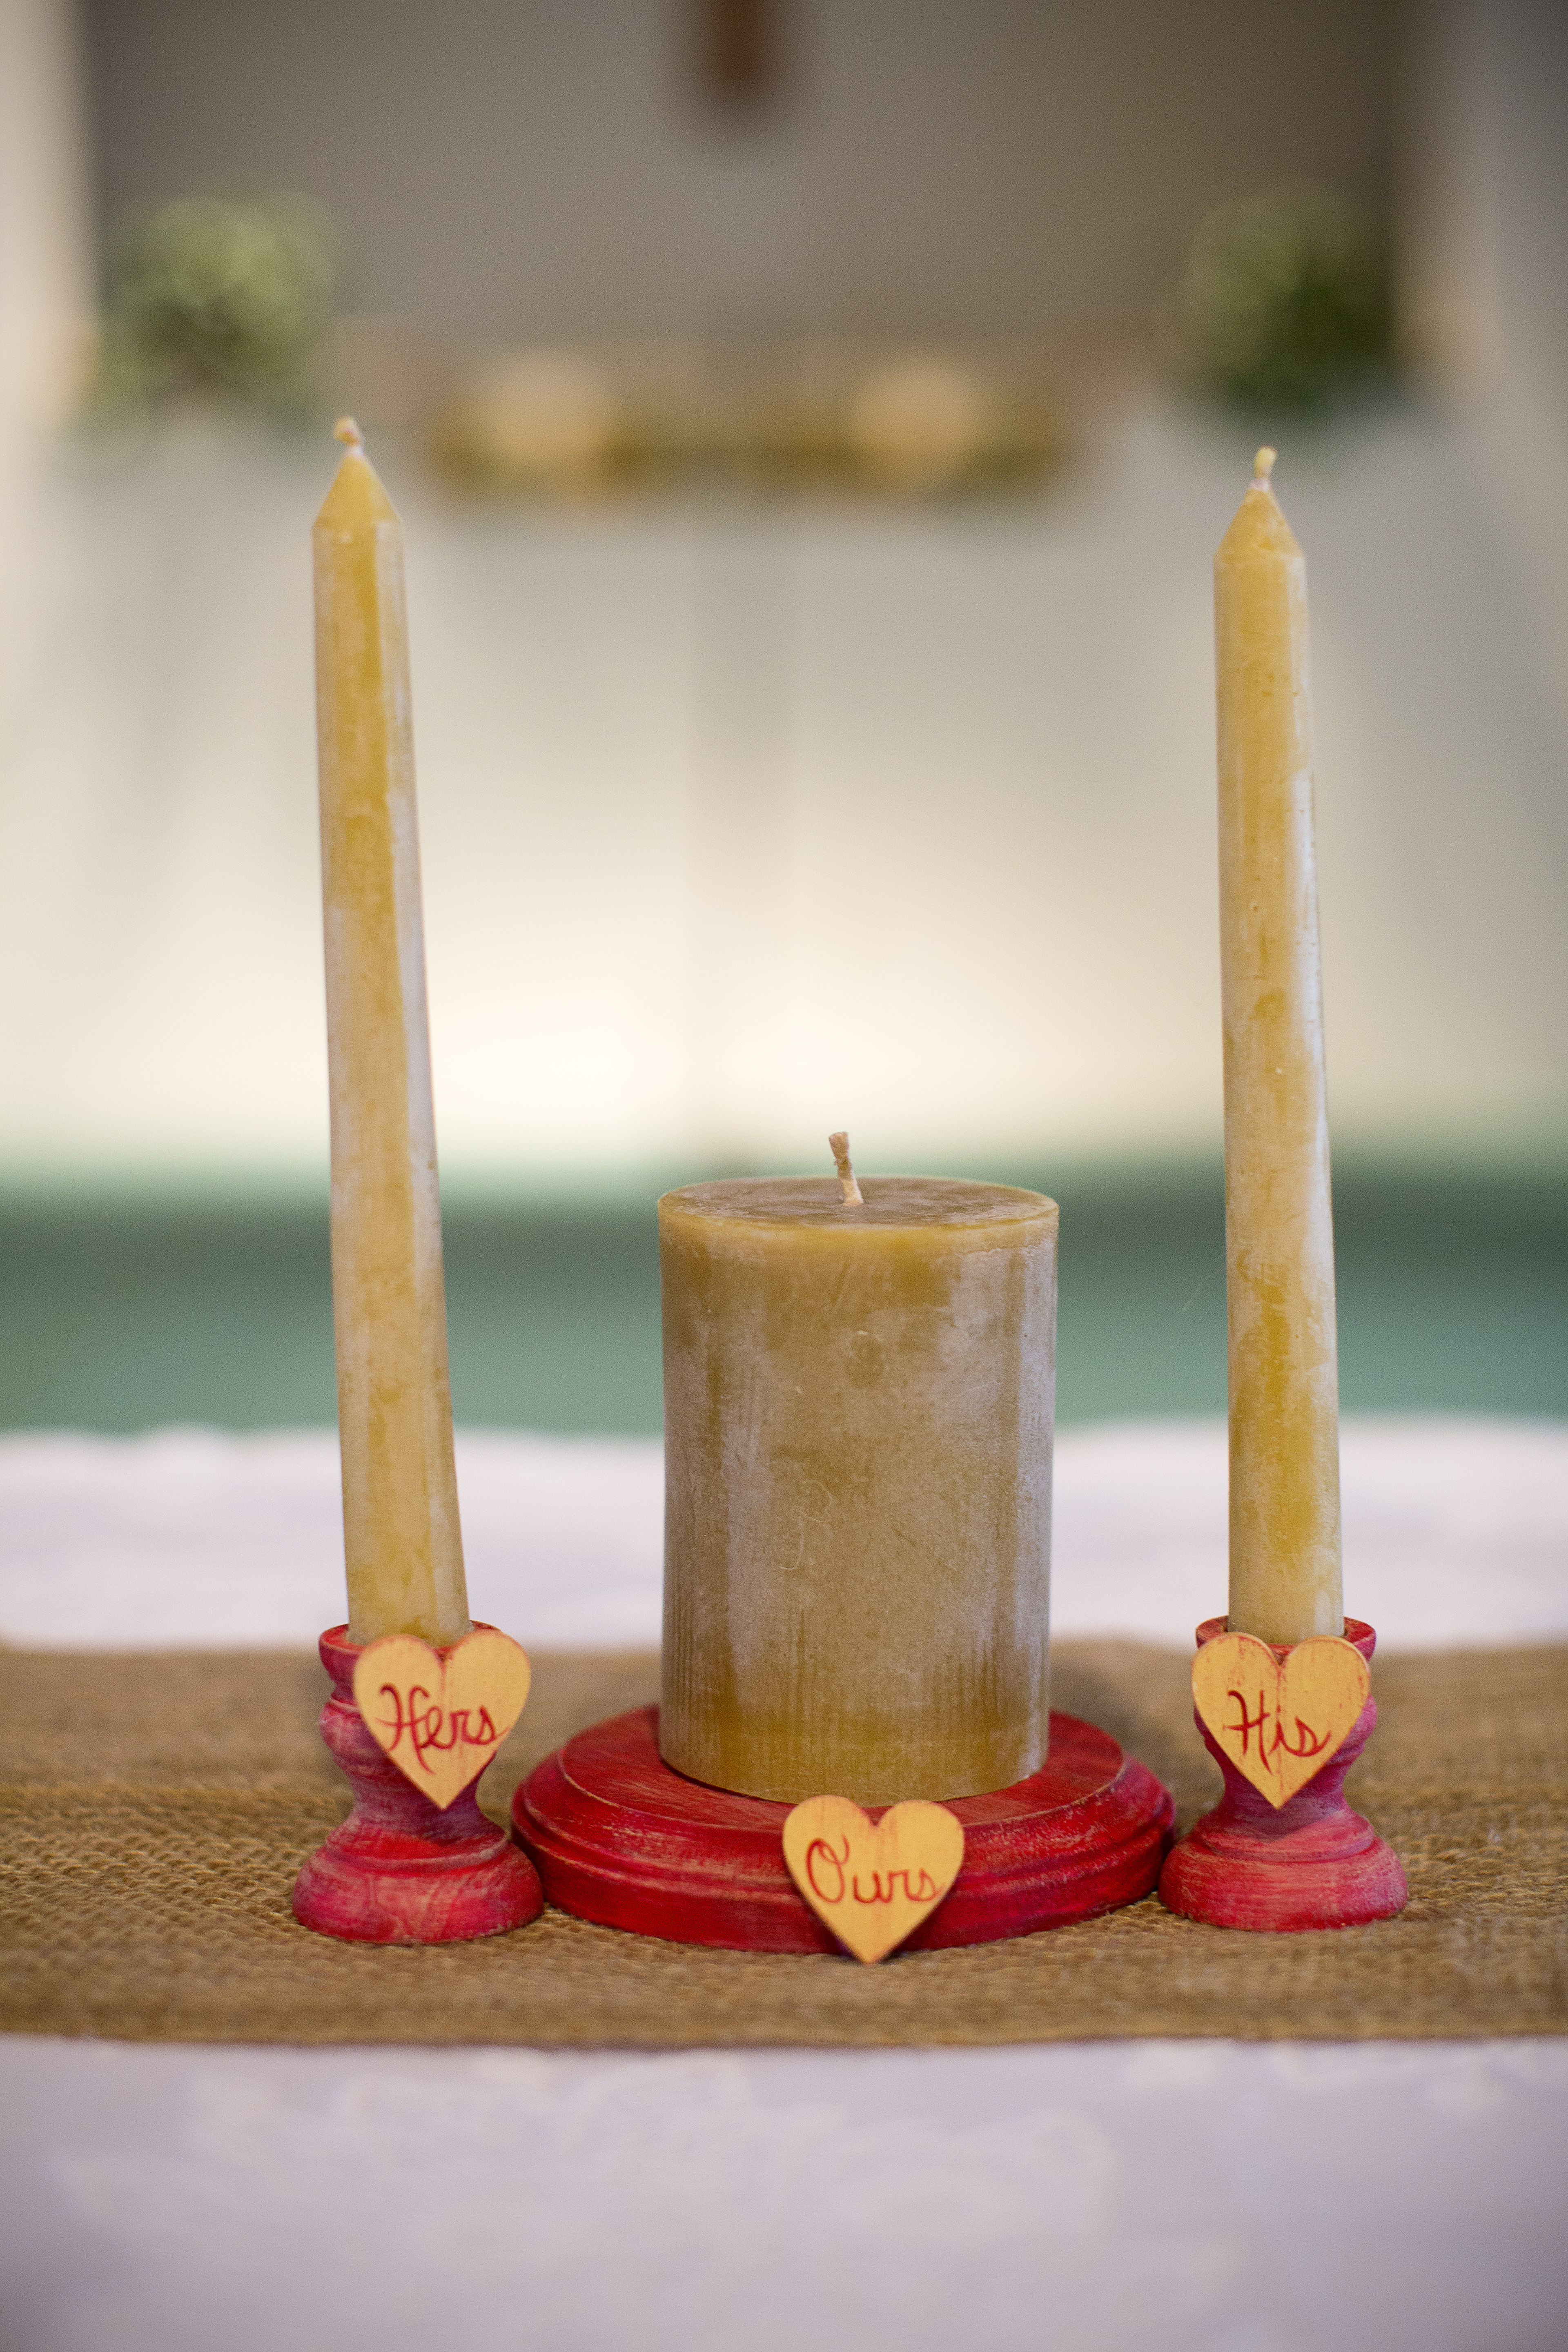
Unity Candles
This is a two part mention. The candles came from The Oliver Company on Etsy. They have all sorts of home sweet goodness, beeswax coming straight from their own hives. I just checked the shop and didn’t see the unity candles on there, but I’m sure they will be back. In the meantime, check out the other great products they have from lip balm and honey soaps to burlap flowers and bows.
The stands came from Morgan Hill Designs. I was looking for something unique and something that could be customized to our wedding colors. Totally found it with this purchase. I loved the “His” “Hers” and “Ours” labels. I haven’t found a place for the His and Hers yet, but the Ours with the pillar candle is displayed with some other things from the wedding in our living room. It is perfect. There is a guide for paint colors on the shop and you just have to designate what it is you would like. I just took another stroll through her shop and there are 75 pages worth of items! all hand-carved and painted. So many unique finds and completely personalized. Be aware that there is a bit of a turn-around time. She is up-front with the prep time so be sure to read the fine print so you’re not disappointed or act too late.
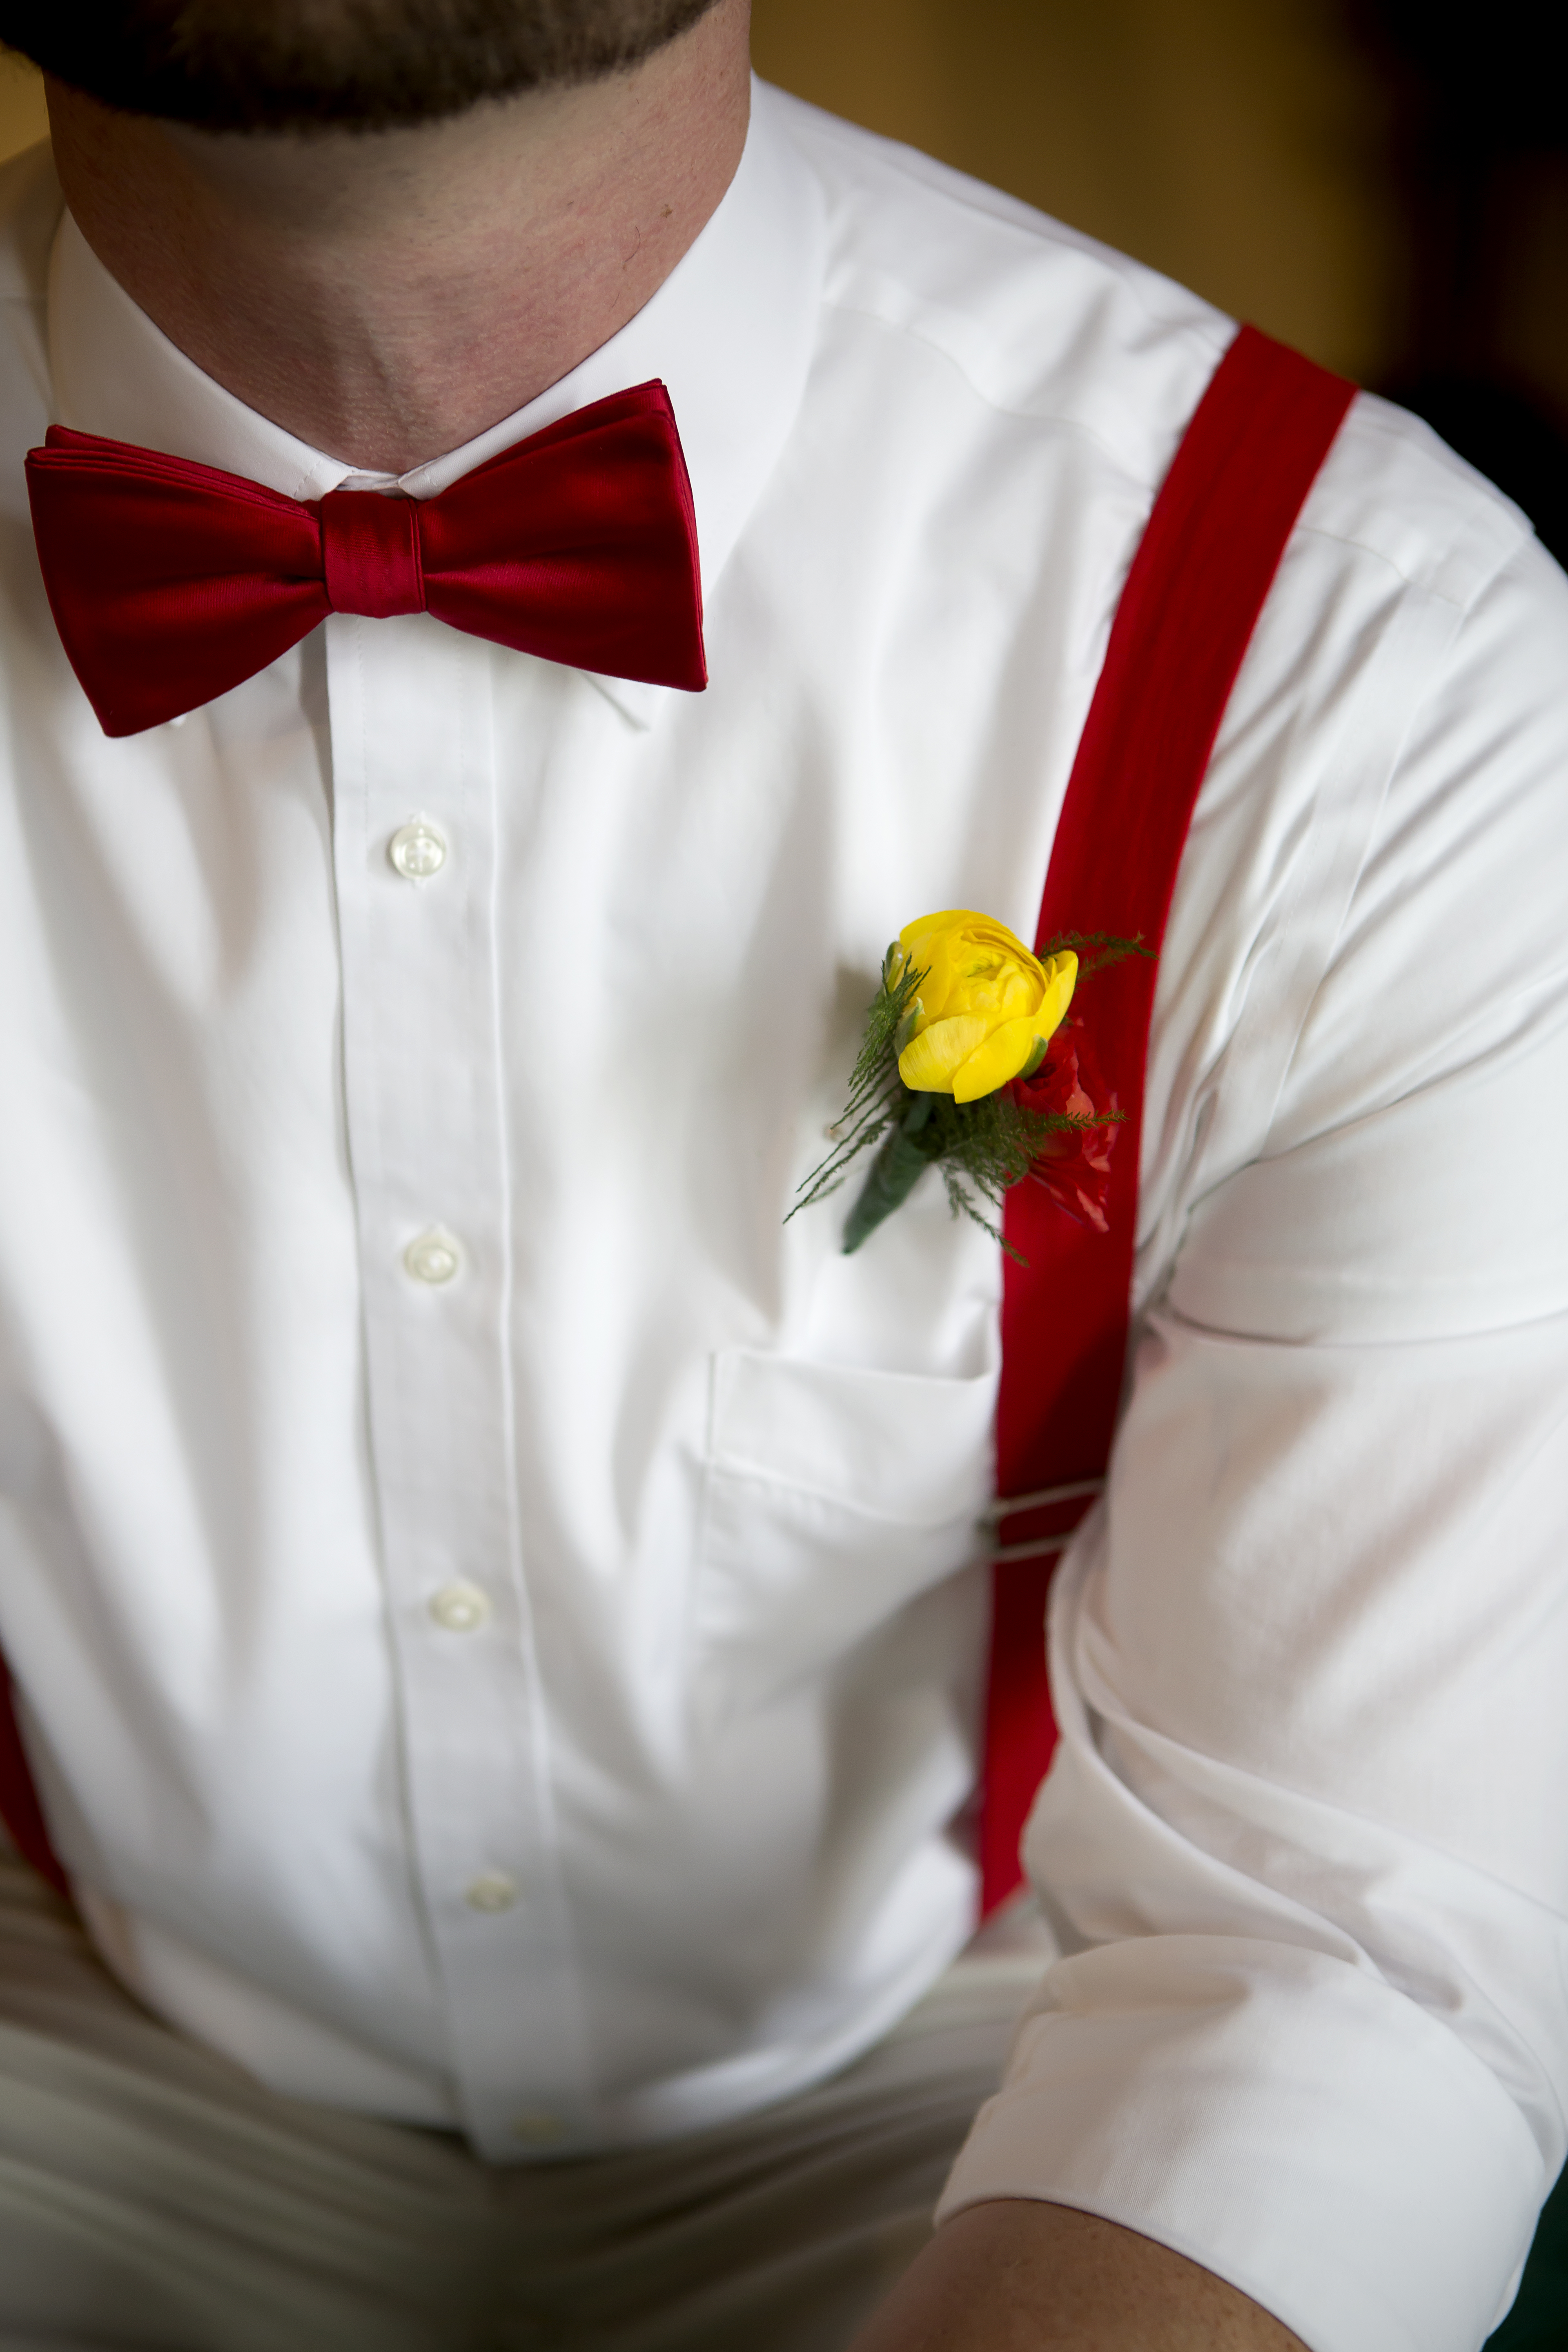
Groomwear
We got most of Matt’s outfit from JC Penney. My original thought was that he would be in all red with the khaki’s, but he wanted to make sure he stood out from the groomsmen, who would also be wearing red and yellow. He chose a white shirt and we managed to find a red bow tie at the store. However, the red suspenders proved a little more difficult than we anticipated. I thought that with the hipster culture going on right now, suspenders would be super-easy to find. No go. I looked everywhere and it just wasn’t happening.
Naturally, I redirected to Etsy. Dapper Gent is THE place to go when you are looking for suspenders, bow ties, or matching sets. I found what I was looking for quickly and received our order in record time. It was good, we were running close on time. The cost was a little more than I was anticipating, but at that point I was willing to pay a little more to get what we (ok, I) wanted. They have so many cute sets for kids. Absolutely precious if you have a boy and he’s cool with stepping up his style.
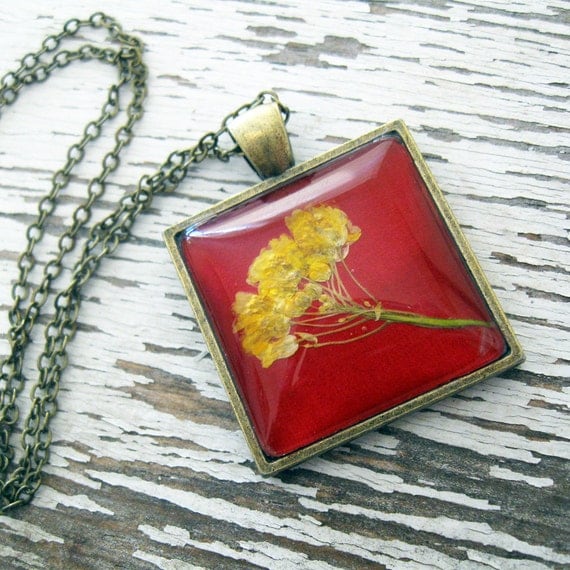
Jewelry – Bride
Picture taken from Etsy.com
I chose to go minimal. My dress was so detailed and beautiful that I didn’t want too much else taking away from it. My makeup was minimal and done by my MOH. The hair complemented the dress (wish I had a good picture of my hair, but I don’t) but I still wanted a pop of color and a way to tie myself into the wedding besides my flowers. This necklace was just the ticket. It matched the dress perfectly and combined the wedding colors in a way that I swooned for. I bought it from Winter Garden Studios on Etsy. I had originally wanted to find a jeweler in my own area, but this was far and beyond what I could’ve wanted. Here’s the best picture I could find of me wearing it.
Jewelry – MOH and Bridesmaids
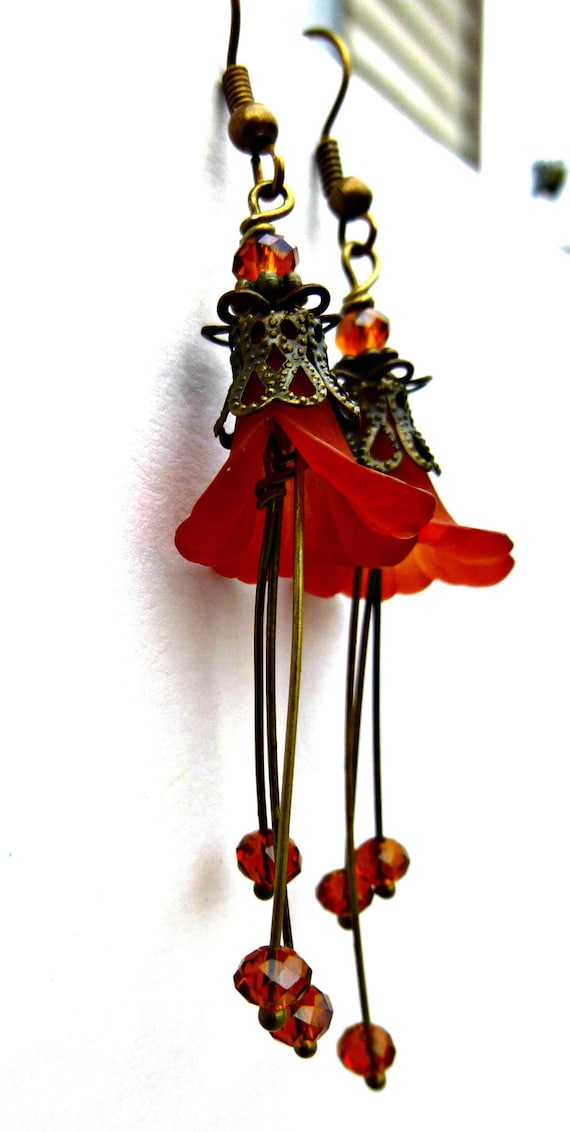
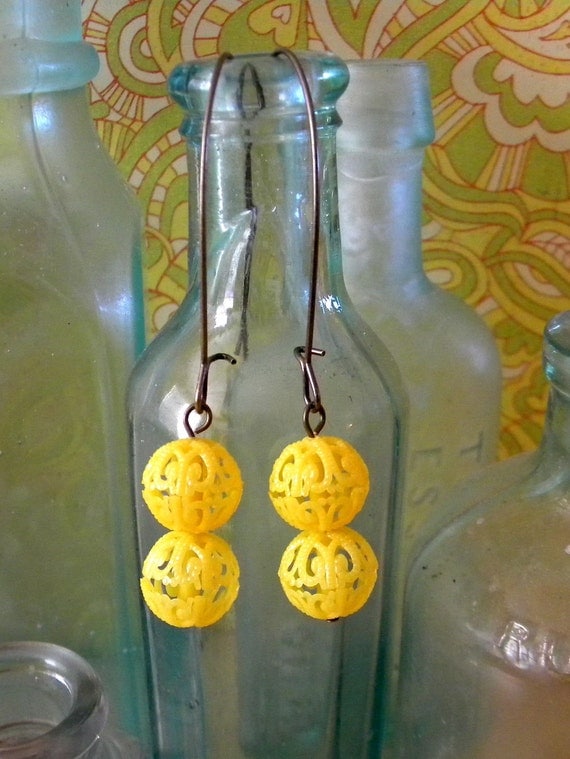
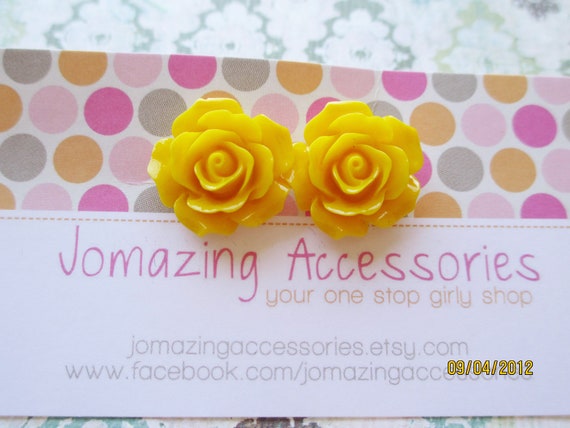
Picture taken from Etsy.com These earrings were for my Matron of Honor. I fell in love with these when I saw them. If I could wear earrings, I probably would’ve got them for myself. I bought them from McKee Jewelry Designs on Etsy, which I would link for you, but Etsy says she no longer exists. That’s sad. Lanna (MOH) was wearing yellow for the wedding, so her accents were all in red.Picture taken from Etsy.com For Amy, my bridesmatron, dear friend. Her dress was red so her accents and flowers were more yellow. Yellow is our collective favorite color, so it worked out perfectly. I discovered IKE and Co through the Craft Weekend blog and fell in love with these earrings. They are perfect for Amy. Ike is the name of their dog, by the way. IkeandCo is on Instagram too and she puts up some great stuff. 🙂Picture taken from Etsy.com These earrings were for my two nieces who were the junior bridesmaids of the wedding. They were wearing red dresses so their accents and flowers were mostly yellow like Amy’s. JoMazing Accessories has quite a bit in their shop so I recommend stopping over for a visit. She’s currently on vacation, so give it about 3 weeks.
More on the Wedding
You can find more about the wedding by checking out the Countdown Post. I posted each week leading up to the wedding and detailed a lot of the preparations for the big day. Soon to come, Wedding Details – Reception.